How To Compare Options For A Kitchen Cupboard Organisation System That Is Simple To Maintain
A practical step-by-step guide to how to compare options for a kitchen cupboard organisation system that is simple to maintain, including preparation, instructions, common issues, tips, and next steps.
How To Compare Options For A Kitchen Cupboard Organisation System That Is Simple To Maintain
Choosing a kitchen cupboard organisation system that stays simple to maintain requires balancing access, visibility, and easy cleaning. This guide walks you through comparing options by focusing on your storage habits, the items you use daily, and the effort you are willing to invest in upkeep. You will learn to evaluate materials, layouts, and modularity so that the system you pick reduces clutter and keeps your kitchen functional without demanding constant tweaking.
Fast Answer
- Focus on open, shallow bins or pull-out shelves that let you see every item at a glance, because hidden items get forgotten and create clutter.
- Choose materials that wipe clean easily, like coated wire or smooth plastic, and avoid intricate mouldings or fabric liners that trap crumbs and grease.
Before You Start
- Inventory your cupboard contents: list the types of items you store (e.g., dry goods, cookware, cleaning supplies) and note which ones you reach for daily.
- Measure the inside of your cupboards: record height, width, depth, and any obstructions like hinges, shelves, or pipes that might limit the size of inserts.
- Decide on a rough budget range for the entire project, but leave flexibility because the simplest systems often use off-the-shelf items.
- Clear out each cupboard completely and wipe down the interior so you have a clean, empty space to work with and can visualise the new layout.
Step-by-Step Instructions
Assess Your Storage Patterns and Needs
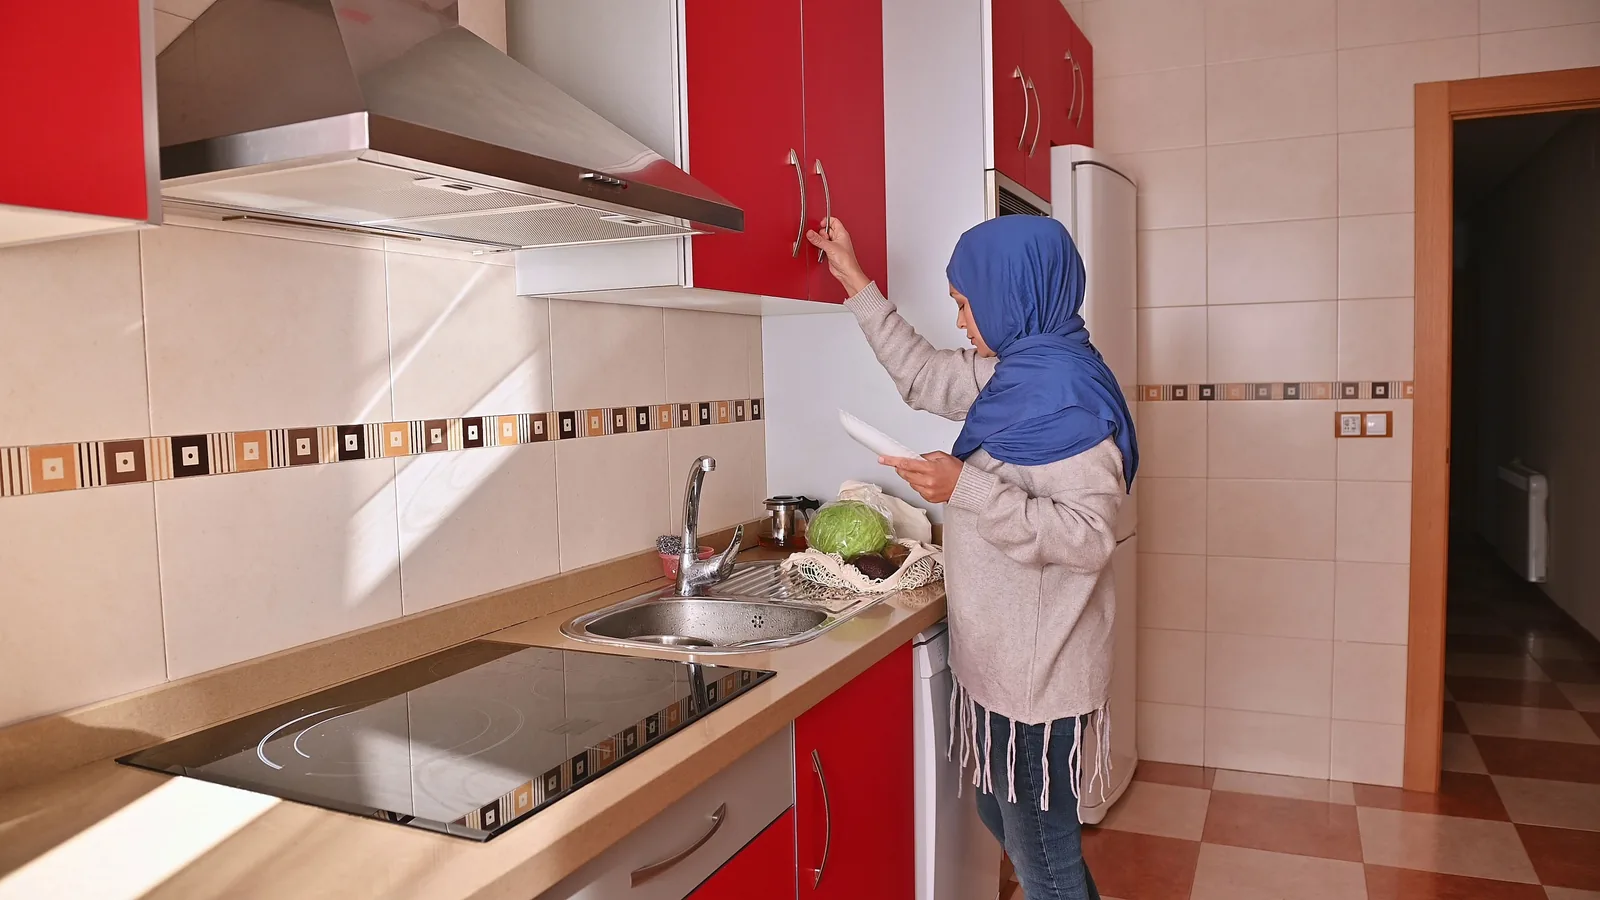
Begin by observing how you use your cupboards for one week. Note which items you fetch several times a day, like mugs, everyday spices, or favourite snacks, and which ones you only need for occasional tasks, such as a roasting pan or a cake stand. Separate your list into daily, weekly, and monthly access categories. This will tell you which areas need the highest visibility and easiest reach. Also measure the heights of your tallest stored items, like a mixer or a stack of mixing bowls, so you know the minimum vertical clearance required. Write down the door swing direction, because a full pull-out shelf is useless if the door blocks it from opening fully. This step is the foundation for every later decision, so invest time here rather than guessing. A quick check is to physically walk through a typical meal preparation, grabbing every item you touch, and confirm your list matches reality.
List Possible Organisation System Types
Write down the main categories of organisation aids that are commonly used: pull-out shelves, stackable wire racks, turntables or lazy susans, door-mounted racks, over-door hooks, shelf risers, drawer dividers, and modular containers. For each type, note the typical maintenance demands. For instance, a stacked tower of wire baskets holds many bags but requires you to lift items from the top to reach lower ones, and crumbs fall through to the shelf below. A turntable rotates for access but needs a clear footprint and can be tricky to wipe because it spins. Door racks use dead space but can strain hinges if overloaded. Write down at least one maintenance downside for every option you consider. Do not choose a system yet. This list serves as your menu, and you will cross options off as you evaluate them against your daily usage. The check here is to ensure you have considered at least five distinct types, because going with the first idea usually leads to a system that looks good but does not fit your habits.
Establish Clear Evaluation Criteria
Create a scoring rubric before comparing options to avoid being swayed by a pretty catalog. Your criteria should include accessibility, visibility, ease of cleaning, capacity, and installation ease. Assign each criterion a weight based on your usage patterns. For example, if you cook daily, accessibility and visibility might get double weight, while installation ease matters if you are renting. Also add a criterion for adjustment flexibility, because your ingredients and cookware will change over time. Write your criteria on paper or in a note app and refer to it constantly. A practical check is to pick your top two items from the daily-access list and imagine retrieving each one with every system on your list. If you would have to crouch, stretch, or move other items, score that option low on accessibility. Similarly, imagine cleaning a spilled jar of honey under a turntable versus a pull-out shelf; the one with fewer hidden crevices scores higher for cleanup.
Compare Materials and Durability
Evaluate the construction materials of each system for how they withstand humidity, repeated handling, and cooking residue. Typical options include bamboo, plywood, coated steel wire, solid plastic, and aluminium. Bamboo looks warm but can stain and require frequent oiling to prevent cracks. Coated wire is durable and allows airflow, but the coating can chip over time, exposing raw metal that rusts. Solid plastic is easy to wipe but can become brittle in cold temperatures. Aluminium is light and rust-resistant but can dent if you drop a heavy pot on it. Write down the care instructions for each material and think about how often you are willing to maintain them. For example, a bamboo shelf needs periodic treatment with oil, whereas a plastic bin just needs soap and water. The check is to ask yourself: can I clean this material in under a minute with water and a cloth? If the answer is no, cross it off unless it is a rarely used storage zone.
Prototype Layout and Test Fit
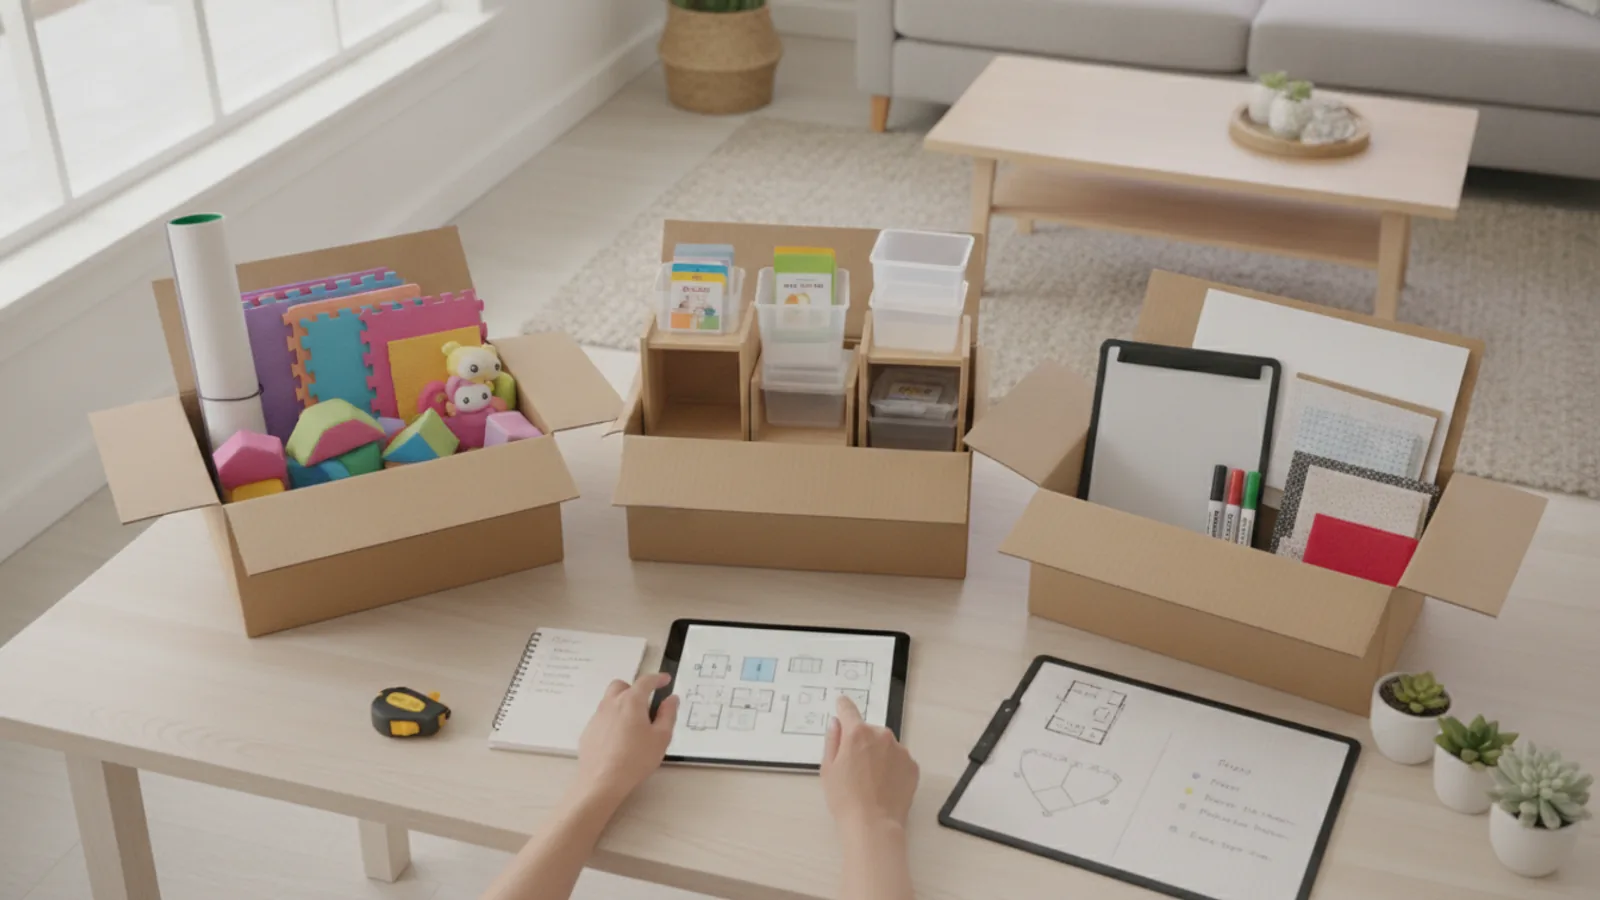
Before buying any full system, create a rough test version in your pantry or cupboard using cardboard boxes, old containers, or adjustable shelves. Place your daily-use items in the spots where the new system would put them, and simulate the actions you would normally do, like grabbing a mug, putting back a bag of rice, or wiping up a spill. Do this for at least two days. Note whether you can see every item without pulling out another one first, whether any item blocks another, and whether the door closes with sufficient clearance. Also test how easy it is to remove and wash the components – can you lift them easily with one hand? This step is crucial because it exposes real-world flaws that paper layouts miss. The practical check is to ask: can I complete a typical cooking session without moving anything more than once? If you must shuffle items often, your layout is not right.
Select Final Options and Buy Incrementally
Now that you have tested the prototypes, choose the two systems that performed best in your test and meet your maintenance criteria. Purchase only enough components to cover one cupboard, not the entire kitchen. Install that one section and live with it for a week. Evaluate how it holds up: does it stay tidy, is it easy to clean, does it make your daily tasks smoother? Take note of any annoyance, like a shelf that rattles or a bin that slides too easily. If the system meets your expectations, expand it to the next cupboard. If not, try the second option on a different cupboard. This incremental approach prevents wasting money on a large set that ends up being unusable. The check is to compare your notes from the prototype phase with actual usage – if the real experience matches the test, you have a reliable system.
Quick Reference
| Situation | Action | Why it helps |
|---|---|---|
| You frequently reach for the same spice jar every day and it is hidden behind larger bottles. | Move that spice to a shallow, open-front bin or a pull-out drawer at eye level, and store larger bottles elsewhere. | Open-front access lets you see and grab the item instantly without moving anything else, reducing friction and keeping the space tidy. |
| You open a cupboard and a stack of mixing bowls topples out because it is not secure. | Install a sturdy shelf riser or a rail that holds the bowls upright, and place the largest at the back. | A secure holder prevents accidental falls and keeps the stack in order, minimising the need to rearrange every time you grab one bowl. |
| You notice water rings or stains inside the cupboard after cleaning, suggesting the shelf material is not waterproof. | Replace that shelf with a coated, plastic, or sealed surface, and add a removable liner that you can wash periodically. | A waterproof, cleanable liner protects the cupboard from moisture damage and simplifies upkeep because you can remove and rinse it regularly. |
Common Issues
- The organisation system looks neat initially but becomes messy within a week because items do not have a designated spot.: Add clear dividers or small bins for each category, and label them if needed. Also, set aside ten minutes weekly to return any stray items to their labelled spots. The key is to define a specific place for every item so cleanup is a simple act of placement, not a puzzle.
- You cannot see items at the back of deep cupboards, so they get forgotten and go stale or expire.: Use pull-out drawers or turntables that bring the back items forward. Alternatively, place a mirror-like or angled rack at the back to reflect the contents. The goal is to eliminate the 'black hole' area by making every item visible without bending or digging.
- Dust, crumbs, and grease accumulate in crevices, making the system hard to clean and unpleasant to use.: Choose systems with open surfaces and minimal grooves, such as solid plastic bins or coated wire with wide spacing. For existing systems, use a small vacuum attachment to clean corners and occasionally remove all items to wipe the base. The objective is to reduce hiding spots for debris, cutting cleaning time.
Advanced Tips
- Use vertical dividers for baking sheets, cutting boards, and trays to store them on edge, saving horizontal space and making each item easy to grab without unstacking.
- Install under-shelf baskets or hooks on the underside of shelves to hold small items like measuring spoons or reusable bags, making use of often-wasted vertical space.
- Adopt a 'one in, one out' rule for cupboards: when you add a new kitchen gadget, remove an old one. This prevents overcrowding, which is the root cause of most maintenance issues.
Final Checklist
- Define your daily-use zone and place the most frequently accessed items at eye level in open bins or pull-out shelves.
- Choose materials that are waterproof and easy to wipe down; avoid fabric, untreated wood, or intricate designs that trap grease.
- Test your layout with temporary items for at least two days before buying a full system, and buy in increments to validate.
- Set a weekly five-minute tidy routine where you return all items to their designated spots and wipe down any spills immediately.
FAQ
What is the simplest organisation system to maintain?
The simplest system is one that lets you see every item at a glance, allows you to grab anything without moving others, and wipes clean with a damp cloth. This usually means open, shallow bins or pull-out shelves made of plastic or coated wire. Avoid systems with many tiny compartments or harsh angles that collect grease. The key is to choose based on your own habits, not a generic trend.
Do I need to buy expensive custom inserts?
No. Many affordable standalone items like shelf risers, wire baskets, and clear containers work well. The most important factor is that the system fits your actual cupboard dimensions and usage. You can even use sturdy cardboard dividers or freezer-safe boxes as temporary solutions. Customised solutions are only worth it if they solve a very specific problem like a corner cabinet.
How do I keep the system organised over time?
Set aside a few minutes each week to do a quick reset. Put every item back in its designated spot, and immediately discard anything that is expired or no longer used. Also, do a monthly deep clean: empty all shelves, wipe surfaces, and remove any accumulated dust. The system stays simple if you periodically revisit your organisation approach as your needs change.