How To Plan A Renter Friendly Lighting Update That Can Move With You
A practical step-by-step guide to how to plan a renter-friendly lighting update that can move with you, including preparation, instructions, common issues, tips, and next steps.
How To Plan A Renter Friendly Lighting Update That Can Move With You
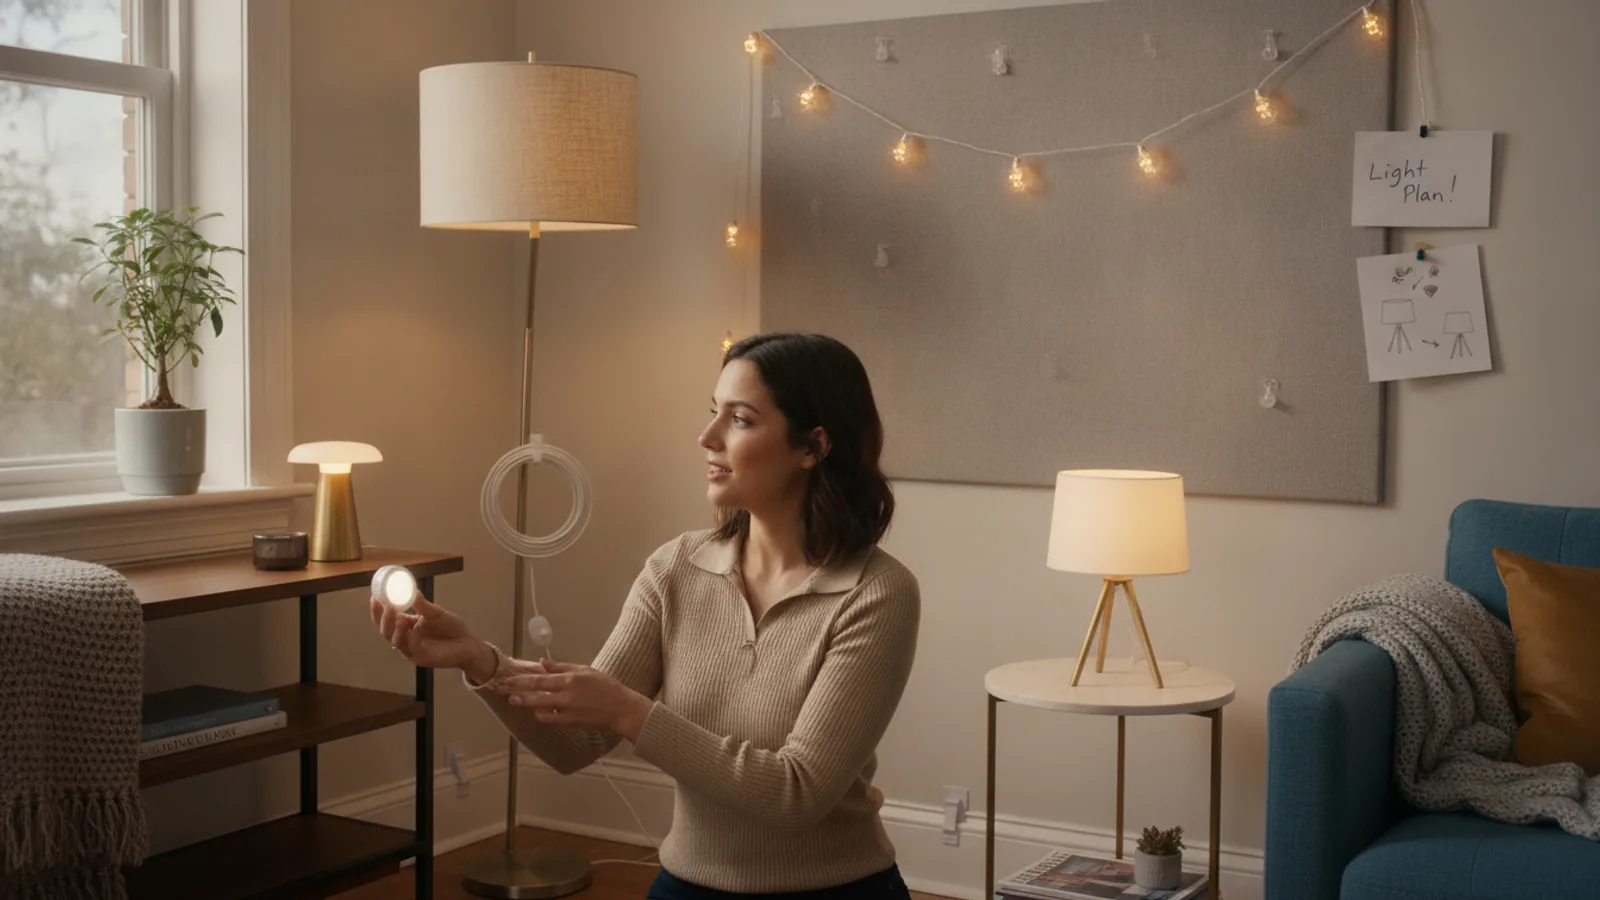
Planning a renter-friendly lighting update means choosing fixtures and placement that enhance your space without damaging walls or requiring permanent wiring. You want lighting that can move with you to your next home, so the focus is on portable, plug-in, and adhesive options. This guide helps you assess your needs, select adaptable lighting, and install it safely while keeping your security deposit intact. You will learn to plan a layered lighting scheme, use temporary mounting methods, and create a cohesive look that is easy to replicate elsewhere.
Fast Answer
- Focus on plug-in fixtures like floor lamps, table lamps, and plug-in sconces that don't require hardwiring or permanent mounting. Use removable adhesive strips or tension rods for placement.
- Always check your lease for rules about holes and adhesive use, and use damage-free products that can be removed cleanly at move-out.
Before You Start
- Measure the rooms you want to light, noting ceiling height and available floor and wall space. This helps you choose fixtures that fit and will likely fit in future spaces.
- List the activities you do in each area, like reading, cooking, or working, to plan task, ambient, and accent lighting layers.
- Check your lease or ask your landlord about any restrictions on drilling, adhesive use, or hanging items. Knowing this prevents lease violations or deposit deductions.
- Collect tools you might need: a level, measuring tape, pencil, and cleaning supplies for surfaces. Damage-free hooks and strips have specific installation rules, so read packaging.
Step-by-Step Instructions
Assess your current lighting and needs
Start by spending an evening in each room you want to update, noticing where light falls and where you feel you need more. Walk around with a notepad and write down tasks like reading in your armchair, cooking at the counter, or working at a desk. Check if ceiling fixtures exist and whether they have a switch you can use. Look for outlets that are conveniently placed for lamps, and note any you might need a power strip for. Also, consider the color temperature of your current bulbs; cool light feels energizing, warm light feels cozy. Based on your notes, decide which rooms need brighter task light and which should feel softer and more relaxed. This step ensures you are solving actual problems with your new lighting, not just decorating. Once you have a clear list, you can choose fixtures that are portable and fulfill those specific functions.
Choose the right portable fixtures
Select floor lamps, table lamps, plug-in wall sconces, or portable LED bars that plug into outlets. Prioritize pieces that have a small footprint and a simple design, because they are more likely to fit in a future bedroom or living room. For reading or detailed work, get a task lamp with an adjustable arm. For general illumination, choose a lamp with a shade that directs light upward or downward, and for accent lighting, small spotlights or picture lights with clips work well. Always check that the fixture has a standard two-prong plug, and consider lamps with dimmers if you want flexible brightness without extra gadgets. Avoid fixtures that require special bulbs or expensive custom parts. When you move, these pieces will be easy to pack and set up again, so think about how each fixture could work in a different room later. That foresight makes your update portable.
Plan placement to avoid hazard
Decide where each fixture will go, considering cord paths and safety. Keep lamps at least a foot away from curtains, bedding, or upholstery to prevent overheating. Use cord clips to attach cords to the baseboards or the back of furniture so they are not a trip hazard. Place lamps on stable surfaces, and avoid putting them on high shelves where they might be knocked off. Confirm that every outlet you plan to use is in good condition and can handle the wattage of your fixtures. Plug multiple lamps into a power strip with a built-in surge protector, and avoid daisy-chaining strips. Walk around your planned layout and imagine walking through the room in the dark; ensure cords are not crossing main pathways. Taking these precautions keeps your update both functional and safe, and it also makes it easier to replicate in your next home without sudden hazards.
Mount fixtures without damaging walls
For wall sconces or picture lights, use adhesive strips, hook-and-loop fasteners, or tension rods that require no screw holes. Clean the wall with a bit of isopropyl alcohol and let it dry, then apply the adhesive exactly as the package instructs, often pressing firmly for 30 seconds. For sconces, attach the fixture to a small mounting plate that adheres to the wall, and ensure it is level with a bubble level. For temporary shelving that may hold a lamp, use tension rods between walls or cabinets instead of shelf brackets. If you are using picture lights that clip, choose spots where the clip will hold securely without scratching paint. Test the hold by gently tugging the fixture after installation. If you ever need to drill a hole for a cord or outlet, consider using a removable cord concealer that sticks on, rather than cutting into walls. These methods keep your walls intact and your deposit safe.
Use bulbs and lighting controls wisely
Check the label on each fixture to see the recommended bulb type and maximum wattage. Use LED bulbs, which emit less heat and last longer; choose a color temperature according to the room's mood—warmer around 2700K for living rooms, cooler around 4000K for workspaces. For plug-in lamps you can use smart plugs or dimmer switches that fit between the lamp and the outlet, but confirm compatibility with your bulb and fixture. Set a timer or use a remote to turn lights off and on, which is helpful for security and energy saving. Avoid using old incandescent bulbs with high wattage in portable fixtures, as they create more heat. By controlling brightness and timing, you also extend the life of your bulbs and make your lighting more adaptable when you move to a new place.
Plan the move and set-up
Before you start updating, think about how you will pack your lighting when you move. Keep original boxes for fragile lamp shades and store small parts like screws in labeled bags. Wrap cords loosely and secure them with a twist tie to prevent tangling. Take photos of your setup, especially where you placed fixtures and how cords run, so you can recreate it in your new home. At move-in, inspect the new walls for approval to use adhesives; clean the surfaces and measure again before installing. Check if the new room has different ceiling heights or outlet placement, and adjust the arrangement accordingly. If a fixture does not fit your new layout, consider swapping a lamp shade or replacing the base instead of abandoning the light. By planning the move, you make the update genuinely movable and not just a temporary fix.
Quick Reference
| Situation | Action | Why it helps |
|---|---|---|
| You want to add a reading light next to a sofa but there are no side tables. | Place a floor lamp with a swing arm that can be positioned over your shoulder. Make sure it has a stable, weighted base and the cord is routed under the sofa securely. | A floor lamp adds light without needing furniture, and it can easily be moved to a new spot in another apartment. |
| You want wall-mounted bedside sconces but cannot drill into the wall. | Use plug-in sconces that hang by a cord and attach with strong adhesive strips. Mount them at the height where the light will be most useful, and route the cord down to the outlet. | Adhesive strips avoid wall damage, and the fixture can be removed cleanly at move-out, preserving your deposit. |
| Your current lighting is too harsh and you want a softer glow for evenings. | Add a dimmer plug between the lamp and the outlet, and use a warm LED bulb. Set the dimmer to near the lowest level that still gives you enough light to see safely. | Dimmers and warm bulbs allow you to adjust mood without changing fixtures, and these components are easily portable. |
Common Issues
- Adhesive strips leave residue or take paint off when removed.: Test the strip on a small hidden area first. When removing, stretch the strip slowly along the wall at an angle, then use a hairdryer to soften residue. Rub the residue gently with a soft cloth and mild soap; avoid harsh chemicals that might damage paint.
- The lamp cord is not long enough to reach an outlet.: Use a grounded extension cord of the correct rating, but hide it neatly along baseboards with cord clips. Never use a two-prong adapter on a three-prong plug. Alternatively, move a piece of furniture to redirect the path.
- Shadows appear when you are trying to read or work.: Position the lamp so that the light comes from the opposite side of your dominant hand, and slightly in front of you. Use a lamp with a movable head to direct light exactly where you need it, and avoid backlighting from behind you.
Advanced Tips
- Create a lighting plan with three layers (ambient, task, accent) using separate switches or controls. When you move, you can reconfigure the layers in any room because portable fixtures adapt to different layouts.
- Purchase a few extra finials or bases that match your lamps, so you can swap them to suit different room styles or ceiling heights in future homes.
- Label each lamp's cord with a small tag using a label maker or adhesive tape; that way, at move-in, you know exactly which room it belongs in and how to set it up quickly.
Final Checklist
- I have specific purposes for each new light fixture, and they can be repurposed in other rooms.
- All fixtures are plug-in and do not require permanent wiring or drilling into walls.
- I have tested all adhesives and mounting methods, and I know how to remove them without damaging surfaces.
- I have taken photos and stored boxes to make future moves easy and stress-free.
FAQ
Can I use remote-control outlet switches for lamps?
Yes, remote-control outlets are a renter-friendly way to turn lamps on and off without changing fixtures. Simply plug the lamp into the outlet unit, then the unit into the wall. Ensure the remote and the unit are compatible in terms of voltage and wattage, and that you operate the switch within its range. This adds convenience and security.
What do I do if my lease forbids any holes, even small ones?
Stick to plug-in, freestanding fixtures that do not require mounting. Use floor lamps, table lamps, and clip-on reading lights. If you need wall sconces, choose styles that hang from a cord and attach with strong adhesive strips, and verify that your lease allows adhesive. If in doubt, ask your landlord in writing.
How do I create ambience without spending a lot?
Use inexpensive dimmer plugs and warm-colored LED bulbs that cost less to run. Add a few small lamps at different heights to create pools of light. Use mirrors to reflect light and make the room feel brighter. You can also use temporary plug-in strips to add under-cabinet lighting in the kitchen, which you can remove easily at move-out.