How To Plan A Renter Friendly Bathroom Refresh Without Permanent Changes
A practical step-by-step guide to how to plan a renter-friendly bathroom refresh without permanent changes, including preparation, instructions, common issues, tips, and next steps.
How To Plan A Renter Friendly Bathroom Refresh Without Permanent Changes
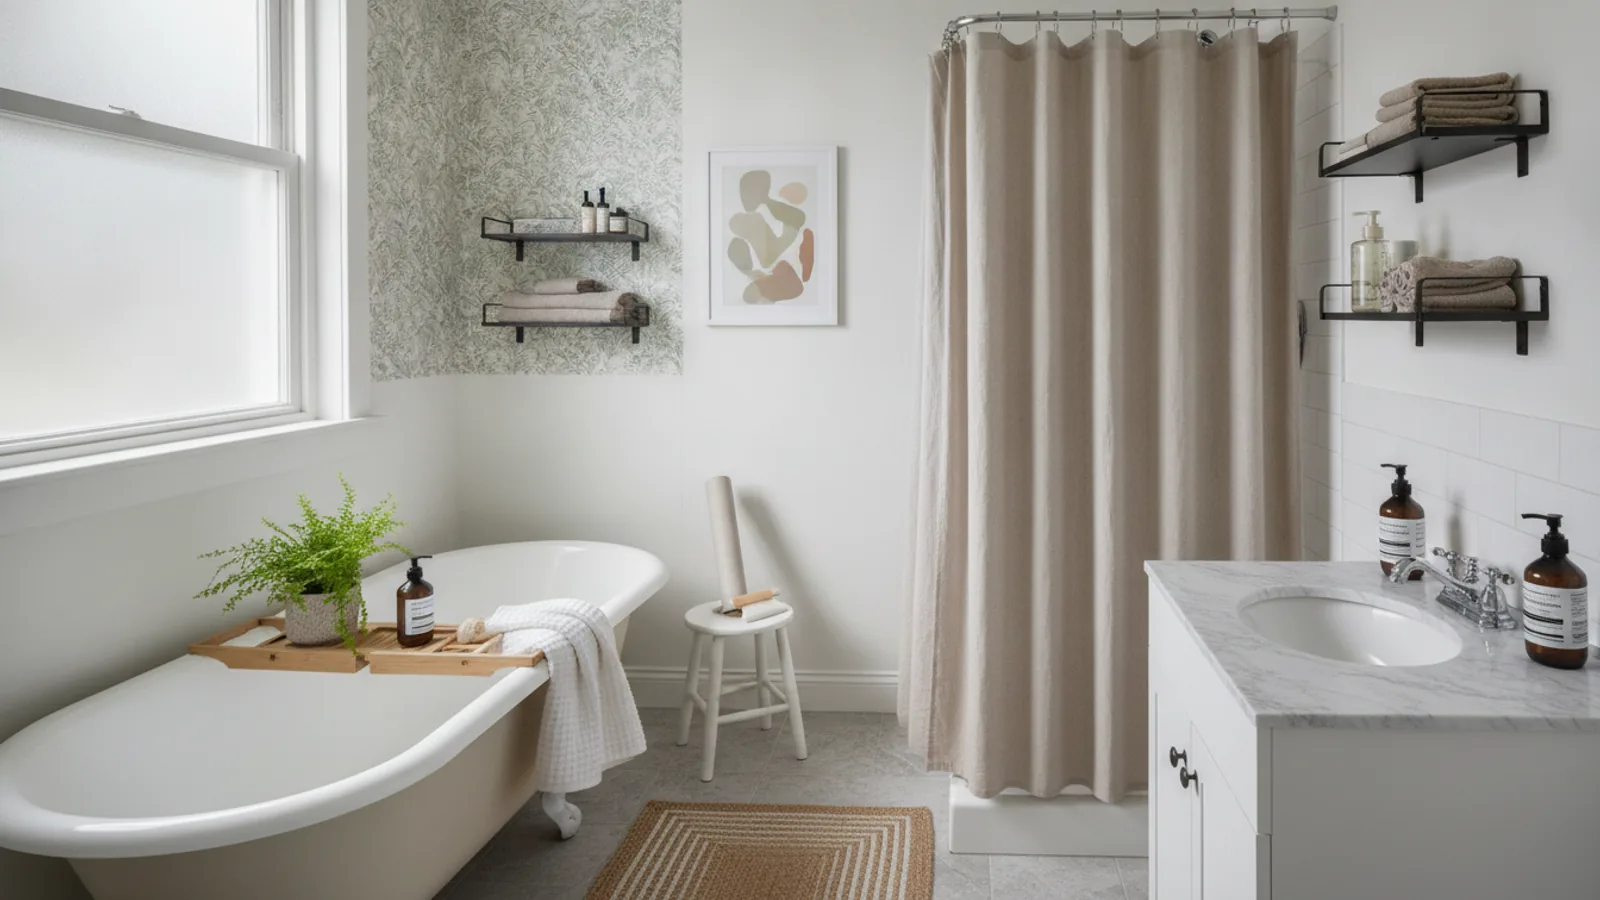
A renter-friendly bathroom refresh focuses on temporary, damage-free upgrades that improve the look and function of the space without altering the structure or violating lease terms. This guide offers practical steps to evaluate your rental agreement, choose reversible materials, enhance lighting and storage, and coordinate colors and textures—all while protecting your deposit. You will learn how to plan a project that is budget-conscious, stylish, and easily removable, with tips for common issues and quick fixes. By the end, you will have a clear checklist to execute a refreshing bathroom makeover that you can reverse when you move, leaving no trace of your changes and keeping your relationship with your landlord positive.
Fast Answer
- Focus on temporary, removable upgrades like peel-and-stick tiles, removable hooks, and washable accessories that do not require drilling or painting.
- Before starting, review your lease for any clauses about alterations or decorations, and choose materials that can be fully removed without damage or residue.
Before You Start
- Take time to measure your bathroom accurately, including wall dimensions, floor area, and the size of your vanity and mirror, so you can plan what will fit and how much material you will need.
- Check your lease or rental agreement for any rules about temporary changes, such as painting, drilling, or installing items, and ask your landlord for written permission if needed.
- Pick a cohesive color palette and design style that you love, using neutral bases and accent colors, so your temporary changes feel intentional and match your existing fixtures.
- Set a realistic budget for your project, focusing on high-impact, low-cost items like removable wallpaper, new shower curtains, and accessories, and track your spending as you shop.
Step-by-Step Instructions
Assess Your Rental Bathroom
Begin by studying your bathroom's current condition and layout. Walk around and look at the walls, floor, vanity, and fixtures, noting any existing marks, cracks, or discolorations. Take photos or a video so you have a record of the original state, which can be useful later if there are disputes. Measure the width and height of the walls, the floor area, and the dimensions of your mirror, vanity, and any built-in shelves. This information tells you how much peel-and-stick tile or wallpaper you need and whether a new shower curtain will fit. Also, check the condition of the grout, caulk, and around the tub to identify areas that may need cleaning rather than covering. Your goal is to understand what you can change without interfering with plumbing, electrical fixtures, or safety features. If you see any existing damage, notify your landlord in writing with photos before you start, so you are not held responsible. This assessment also helps you choose pieces that complement the existing layout and avoid buying items that are too large or heavy. A practical check: verify that all removable products you consider are rated for bathroom moisture and are designed for the surface you plan to apply them to. By knowing your space exactly, you can plan a refresh that is both beautiful and practical, without risking damage or lease issues.
Select Temporary and Removable Products
Choose materials that can be taken down easily without leaving marks. Look for peel-and-stick tiles for backsplashes or floors, but avoid ones that require cutting into a permanent adhesive that may be difficult to remove. Peel-and-stick wallpaper is another option for a feature wall, but pick a type that is specifically made for bathrooms to resist moisture. For the floor, you can use a large, washable rug or a set of interlocking tiles that slip into place rather than sticking. For the shower, a new curtain and liner are simple, reversible upgrades, and you can also add a tension rod to hang it without drilling. For wall décor, use removable hooks and hanging strips that are designed to come off cleanly, but always test them on a hidden area first. Avoid painting walls, replacing light fixtures, or altering cabinets, as these are typically permanent changes. You can also update the look of your vanity by swapping out the hardware, like the pulls, if you keep the originals in a safe place, and use soft putty to attach them without screws. Another clever idea is to use a fabric shower curtain or a washable floor mat that brings color and pattern without any adhesive. When selecting, look for labels that say 'renter-friendly,' 'removable,' or 'no damage,' but still read the package instructions. Contact your landlord if you are unsure whether a product is acceptable. Make a list of what you need, and consider buying a small test piece of any new product to try it on your wall or floor. This careful choice ensures you can enjoy your refreshed bathroom and then return it to its original state without stress.
Gather Non-Permanent Tools and Materials
Before you start, collect all the tools and supplies you will need to make changes that are easy to reverse. This includes measuring tape, a level, a pencil, and a utility knife, but you must use them carefully to avoid damaging surfaces. For stickers, tapes, or strips, have a hair dryer on hand to warm the adhesive if you need to remove them later. If you plan to add a new shower rod, buy a tension rod and a curtain, and make sure you know how to adjust it to fit without metal touching any permanent parts. For temporary hooks, choose ones that come with removable adhesive and follow the directions for installation; often, they come off by pulling a tab. You might also want a squeegee, cleaning wipes, and a bucket of warm water to clean surfaces before applying anything. For any piece that needs to be placed on a floor, use a mat or non-slip pad underneath to protect the original flooring and keep the item stable. You may also want painter's tape to create straight lines when aligning removable wallpaper or tiles, but only use tape that is designed to be gentle. A practical check is to have a cloth and a plastic scraper ready in case you need to smooth out bubbles in film or adjust a sticker. Keep all packaging and receipts in case you return or move items. Also, confirm that you have a safe place to store original hardware, such as old hooks, handles, or fixtures that you remove, so you can easily reinstall them when you move out. By gathering your items thoughtfully, you ensure the process is smooth and everything remains reversible.
Prepare Surfaces and Protect Your Deposit
Before applying any temporary product, you must clean and dry the surfaces thoroughly. Use a mild cleanser, warm water, and a soft cloth to remove dust, soap scum, or oil from walls, tiles, and floors. Pay special attention to areas behind the toilet, near the sink, and around the bathtub. If you see any mildew, treat it with a bathroom cleaner and let it dry completely. This step is essential because adhesives and peel-and-stick materials will not stick well to dirty or damp surfaces, and they might leave odd marks or peel off early. Also, check for any existing peeling paint or cracked grout; if you notify your landlord, they might fix it before you start. While preparing, protect the areas you are not changing by using painter's tape to mask off edges, and lay down an old towel or drop cloth on the floor to catch any drips or spills. When you apply a product, always follow the manufacturer's instructions about how long to wait after cleaning before pressing it down. For example, some adhesives need the surface to be slightly warm, so you can use a hair dryer on a cool setting in cooler months. A practical check is to test a small piece of your chosen wallpaper or tile in a hidden spot and wait 24 hours to see if it sticks well and can be removed without damage. This precaution protects your deposit because you avoid any product that leaves sticky residue or pulls off paint, and you can catch issues before you commit to a large area. Remember to remove any painter's tape carefully at the end of the project to avoid marks.
Install Removable Features with Care
Now you can begin installing your planned temporary elements. Start with the largest or most visible item, such as a peel-and-stick backsplash tile or a removable wallpaper accent wall. For tiles, peel off the backing and press each one onto a clean, dry wall, smoothing it from the center out to get rid of bubbles. For a wallpaper panel, measure and cut it slightly larger than needed, then peel and stick it, using a thin cloth to press out any wrinkles. When using hooks or strips, follow the package directions: typically you press the strip onto the hook, then onto the wall and hold for a few seconds. Always use enough strips to support the weight of your items, and never hang anything too heavy, like a mirror, on a strip that is not clearly rated for it. Install your tension shower rod by adjusting it to the width of your shower and twisting to tighten it, make sure it is level and not touching the shower door. Add your new shower curtain and liner. For a floor, unroll your rug or place interlocking tiles, ensuring they lay flat and do not slide; you can use a non-slip pad underneath. If you are adding a temporary shelf or storage unit, put it together according to the instructions, and do not lean heavy items against walls. A practical check is to give each item a gentle tug after installation to verify it is secure, and to test that doors and drawers still open easily. Remember to keep all original fixtures and pieces stored safely, so you can restore the bathroom to its original look when you move.
Final Inspection and Maintenance of Your Refresh
Once everything is installed, take a step back and inspect your work. Walk around the bathroom and look for any gaps, bubbles, or edges that are peeling. If you see a bubble in a tile or wallpaper, use a pin to puncture it and press down to let air out, and for peeling edges, press them down firmly or replace that section if it does not stick. Check that all hooks are secure and that nothing has fallen. Run your hand along the edges of any tape to ensure it is not lifting, and if it is, press it back down. Also, test the shower curtain to make sure it moves freely and does not leave the floor wet. For routine maintenance, clean the bathroom as usual, but avoid harsh scrubbing on your temporary surfaces; use a soft sponge and mild soap. In humid climates, be aware that steam can affect adhesive, so after a shower, wipe down tiled surfaces to keep them dry. A practical check is to create a simple inspection routine: every few weeks, quickly check the corners of your wallpapers, the bases of your hooks, and any areas that see high moisture. If you notice any product starting to peel or cause a mark, address it right away by removing it or reinforcing it. Also, keep a small kit of extra pieces, like additional tiles or strips, in case you need to repair or replace one. When it is time to move, follow the removal instructions carefully, using heat from a hair dryer to loosen adhesives, and clean the surface with soapy water. This attention to detail ensures that your refresh remains beautiful and that you leave the bathroom in its original condition, protecting your deposit.
Quick Reference
| Situation | Action | Why it helps |
|---|---|---|
| peel-and-stick wallpaper appears to be peeling at the corners after a few days | Use a hair dryer on low heat to gently warm the adhesive, then press the edge down with a clean cloth and hold for 30 seconds to ensure it seals back. | The heat reactivates the adhesive and the pressure re-seals the edge, preventing further peeling without leaving marks. |
| temporary hooks on the bathroom wall are not holding and fall off easily | Remove the hook, clean the wall with rubbing alcohol, dry it thoroughly, then apply a fresh hook with a new adhesive strip, pressing firmly for 60 seconds. | Residue or moisture reduces the adhesive's grip, so a clean, dry surface gives the strip maximum stick and improves the hook's hold. |
| you need to remove a large peel-and-stick backsplash tile before you move | Gently peel the tile from one corner at a 45-degree angle while using a hair dryer on low heat to warm the adhesive, and clean the wall with soapy water after. | Heating softens the glue and pulling at an angle reduces the chance of tearing the tile or leaving sticky residue, making the removal smooth and damage-free. |
Common Issues
- peel-and-stick tiles leave sticky residue on the wall when removed: After removing the tile, apply a few drops of cooking oil or rubbing alcohol to the residue, wait a minute, and then gently rub with a soft cloth to lift the adhesive.
- tension shower rod slips and falls during a shower: Take the rod down, clean the ends and the walls with a degreaser, then align it at a slightly upward angle and twist it tighter to create more tension.
- watermarks or stains on temporary wallpaper from steam: Mix a small amount of mild dish soap with water, dampen a microfiber cloth, and gently wipe the stain; avoid using chemicals that might discolor the paper.
Advanced Tips
- Use a large, foldable shoji screen as a temporary room divider or decorative panel to hide an ugly area without any mounting, and move it easily to any spot.
- Swap out your mirror for a full-length floor mirror that leans against the wall, which feels modern and does not require drilling or any permanent installation.
- Add a temporary stone or marble-like contact paper on a small shelf or the back of the vanity door, and seal it with a clear, removable laminate to resist moisture without leaving marks.
Final Checklist
- Measure all areas and review your lease for any restrictions on decorating before buying anything.
- Choose only removable, moisture-resistant products that do not require drilling or painting, and test a small piece on every surface.
- Clean and dry all surfaces before applying anything, and follow the installation instructions for each temporary item.
- Keep all original hardware and store it safely, and do a final inspection to ensure all changes can be reversed without damage.
FAQ
Will temporary wall stickers damage my bathroom walls?
Most removable wall stickers and tiles are designed to leave little to no residue, but they can sometimes pull off paint if the wall is not clean or if you remove them too quickly. Always test a small, hidden area first and make sure the surface is clean and dry. When you pull them off, do it slowly and at an angle, and if any sticky residue remains, you can use soapy water or rubbing alcohol gently. If you are worried, ask your landlord about a specific product or use a less invasive option like a fabric shower curtain.
Can I put a new shower rod in a rental bathroom?
Yes, you can use a tension-mounted shower rod that is installed by twisting it to fit the space without any screws or holes. Make sure the ends are clean and the walls are dry, then adjust it until it feels secure. As a check, gently pull on the rod to make sure it does not slip. If you have a tile or textured surface, the rod may need a little more pressure, but it should hold if it is properly adjusted. This is a reversible and renter-friendly option.
How do I choose a color scheme for a temporary bathroom refresh?
Start by looking at the colors you already have, like the tiles or the floor. Pick a neutral base, such as white, beige, or gray, that will not clash with the existing fixtures, and then add one or two accent colors through accessories, like a bright shower curtain, towels, or a bath mat. Use the color wheel to find harmonious shades, and do not be afraid to go bold with a removable wallpaper or a colorful floor rug. The key is to choose items that can be easily removed, so you can change the look whenever you want.