Common Mistakes When Setting Up A Kitchen Cupboard Organisation System That Is Simple To Maintain
A practical step-by-step guide to common mistakes when setting up a kitchen cupboard organisation system that is simple to maintain, including preparation, instructions, common issues, tips, and next steps.
Common Mistakes When Setting Up A Kitchen Cupboard Organisation System That Is Simple To Maintain
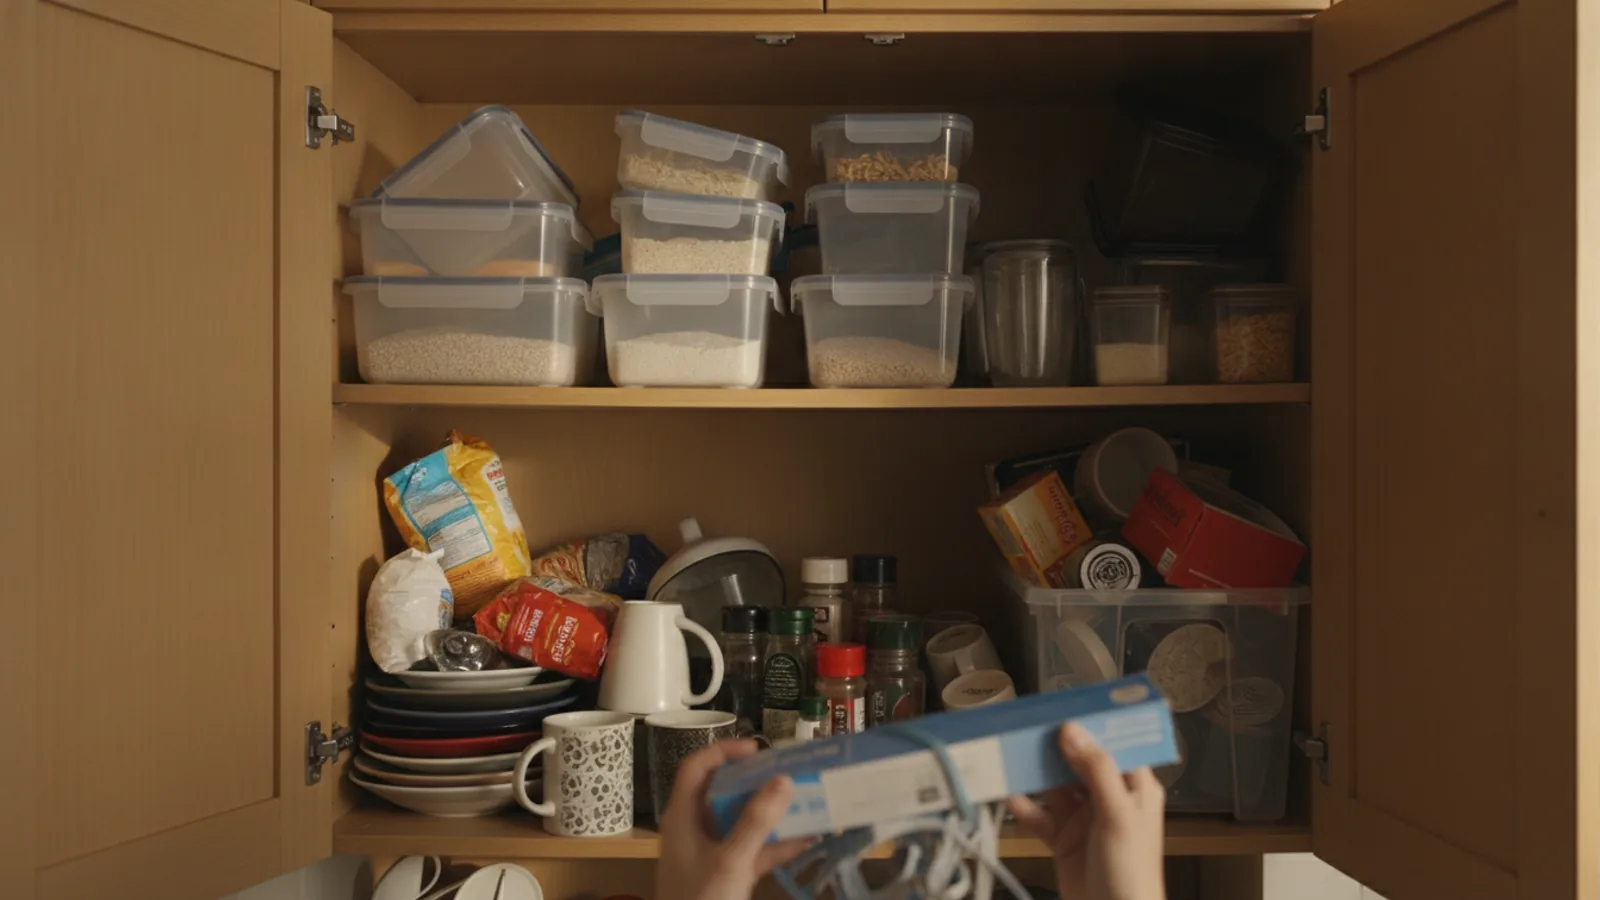
Setting up a kitchen cupboard organisation system that stays simple to maintain requires avoiding common pitfalls that lead to clutter and frustration. Many people buy containers before measuring, group items by category instead of by use, or create systems that are too rigid for real life. This guide walks you through the most frequent mistakes, from overcomplicating labels to ignoring vertical space, and offers practical fixes. You'll learn how to design a system that respects your cooking habits, makes returning items effortless, and adapts as your needs change. The result is a kitchen that looks tidy and works for you every day, without hour-long reorganising sessions.
Fast Answer
- Skip buying containers until you have measured your shelves, door panels, and drawer depths, and know exactly what you store in each cupboard.
- Group items by where and how you use them, not by type, so everyday dishes and tools sit near the prep and cooking zones.
Before You Start
- Measure every cupboard's interior width, depth, and height, including door swing space, and note any fixed shelves or pipes that limit storage.
- List all items you currently store, then sort them into three piles: daily use, weekly use, and occasional or seasonal use.
- Take photos of each open cupboard and drawer so you can visualise the layout without constantly opening doors.
- Empty one cupboard at a time, wipe the interior, and decide what truly belongs in that space based on your prep, cooking, and cleaning workflows.
Step-by-Step Instructions
Measure and sketch your cupboard spaces
Use a metal tape measure to record the interior width, depth, and height of each cupboard, including any fixed shelves, door hinges, and internal obstructions. Note the clearance when the door swings open, because a stack of containers may block it. Sketch a simple floor plan for every unit, writing down the measurements and marking any pipes, dividers, or awkward corners. This step is essential because it prevents you from buying bins that are too wide, too tall, or too deep for the actual space. Without accurate numbers, you risk forcing items into spots that are hard to reach, which leads to a system you will abandon. Check your measurements twice, especially the height under a shelf where you plan to stack plates or bowls, because that dimension determines how many items fit vertically.
Sort items by frequency of use
Pull everything out of your cupboards and place each item into one of three groups: use daily, use weekly, or use occasionally. Daily items are the bowls, plates, glasses, mugs, and cooking utensils you reach for every morning or evening. Weekly items include slow cookers, extra pots, or baking sheets you use a few times a week, while occasional items are serving dishes, holiday platters, or special appliances you use a few times a year. Grouping by frequency of use is more effective than grouping by category because it puts the most needed items in the most accessible spots—eye level or waist height—and relegates rarely used pieces to higher or lower shelves. This method minimises the daily effort of getting what you need, which makes the system easier to maintain over time. Check that you can physically reach your daily group without stretching or bending too far.
Choose storage containers after measuring
With your measurements in hand, select bins, baskets, or containers that fit precisely in each cupboard. Aim for clear, stackable bins for snacks and pantry staples, and open bins for items you grab frequently, like foil or plastic wrap. For plates and bowls, use vertical plate racks or stackable shelves to double your storage height. Before buying, check the depth of your shelves so that the containers do not stick out beyond the door line. Choose containers with smooth sides and no awkward handles that waste space. This is the moment many people go wrong: they see a pretty set of canisters and buy it without checking if it fits under the shelf or in the designated corner. Verify that each container you choose has at least a finger-width of space on both sides of the shelf so it slides out easily, and that the height leaves room for you to see the top shelf.
Design zones based on your workflow
Arrange your kitchen into work zones: prep zone near the sink and cutting board, cooking zone near the cooker, and cleaning zone under the sink. Place the dishes you use for serving in the cupboard closest to the dining area, and keep cooking tools near the hob or oven. For example, store pans, lids, and wooden spoons within one arm's length of the cooking surface, and keep mixing bowls and measuring cups near your prep area. This approach cuts down on back-and-forth trips and makes it obvious where to return each object. Grouping by use rather than by category is a significant shift from the typical 'pots with pots' approach, and it reduces the chance that you will leave things on the counter because the 'proper' spot feels remote. Check that each zone holds everything you need for a typical meal, and that you can put items away with two or fewer steps.
Label only what matters and avoid over-labelling
Apply labels to bins or shelves only when you find yourself unsure where something goes or when other people use the kitchen. For example, label the bin that holds baking trays or the shelf for basmati and jasmine rice if you have several similar-looking grains. Use a simple label maker or plain paper labels covered with clear tape. The risk of over-labelling is that you create a system that feels rigid, and when you shift items around, you avoid updating labels because it feels like a chore. That leads to labels becoming inaccurate and useless. Instead, reserve labels for a handful of categories that genuinely cause confusion, and leave the rest unlabelled. Check that every label is clearly visible and that you can read it from a standing position without pulling out the container.
Build a daily 10-minute reset routine
Set aside ten minutes each day, perhaps after dinner or the last meal, to return anything that is out of place in your cupboards. This is a simple habit: open each cupboard, scan for items that do not belong, and put them back in their designated zone. Wipe up crumbs or spills with a damp cloth if you spot them, but do not deep-clean during this time. The key is to keep the system from degrading gradually, because small misplaced items are easy to fix daily but become overwhelming if left for a month. This routine works because it turns maintenance into a tiny, repeatable action that does not require motivation. Check at the end of the ten minutes that all cupboards are closed and nothing is left on the counter.
Quick Reference
| Situation | Action | Why it helps |
|---|---|---|
| You find yourself buying the same container twice because you forgot you already had a similar one. | Create a simple inventory list on paper or a note app of every container, bin, and rack you own, with its measured dimensions, and check that list before buying anything new. | Having a list prevents duplicate purchases, saves money, and ensures you use the containers you already have instead of letting them clutter a cabinet. |
| After two weeks, items start piling up on the counter because the 'correct' cupboard spot is a stretch or a squat. | Move the most-used items (like mugs, plates, or oil) to a shelf between shoulder and hip height, and shift heavier or rarely used items to lower or higher shelves. | This reduces the physical effort of putting things away, so you are more likely to return them because the action feels effortless. |
| You cannot see what is at the back of a deep shelf, so you end up buying things you already have. | Install a pull-out tray or a lazy Susan on the deep shelf, and keep categories together so that you can rotate the tray or slide it forward to see everything. | This makes the back space accessible and visible, preventing forgotten items and duplicate purchases, which keeps the system organised and efficient. |
Common Issues
- Cupboards become disorganised again within a few weeks because there is no place for new or odd items.: Reserve one small 'overflow' bin in a less-used cupboard for items that do not have a clear home. Once a month, go through that bin and decide if each item stays, gets donated, or moves to a proper spot.
- The system works for you, but your partner or children do not follow it because they do not know where things go.: Add clear labels to the fronts of the most important bins or shelves, and physically show each person where the daily items live. Put a simple list on the inside of the cupboard door that names the zones.
- You keep losing lids for pots and pans because they are stacked separately from the pots.: Store each pot with its lid on, either by nesting smaller pots with their lids inside, or by using a lid rack that sits on an adjacent shelf or inside a drawer.
Advanced Tips
- Use vertical plate racks inside base cabinets to double the number of plates you can store, and place them near the dishwasher to make unloading a one-step action.
- Install adjustable shelving so you can fine-tune the gaps between shelves as your collection of appliances changes, rather than living with fixed, wasted vertical space.
- Put a small battery-operated light inside a dark, deep cupboard so you can actually see what is in the back, which encourages you to return items because you can confirm they belong.
Final Checklist
- Measure every cupboard's interior dimensions and door swing before buying any container.
- Group items by frequency of use and by workflow zone, not by category alone.
- Choose containers that fit with at least a finger-width of clearance on all sides, and test that they slide out easily.
- Set up a daily 10-minute reset routine to catch small misplacements before they grow into piles on the counter.
FAQ
Should I label every shelf or bin to help the whole household?
Labels are helpful, but only when they serve a real purpose. If family members keep putting things in the wrong spot, a label can clarify exactly where that item lives. Over-labelling creates a rigid system that feels like a chore to maintain. Instead, label the items that are frequently confused, such as similar-sized bowls or different types of rice. Keep labels simple, readable, and easy to update. You can always add a label later if you notice a recurring problem.
What should I do if I have a lot of small things like spice jars and plastic containers?
For spices, use a tiered shelf or a lazy Susan so you can see all jars at a glance. For plastic containers and lids, store them with their lids attached if possible, or stack them inside a deep bin that has dividers. The main idea is to keep every item visible and reachable. If you constantly buy new containers because you cannot find the old ones, take everything out, measure the shelf, and reassign a specific spot for each category. That will stop future duplicates.
How often should I reorganise my cupboard system?
Aim for a light refresh every three to six months, depending on how much your cooking habits change. A daily 10-minute reset handles the day-to-day. The deeper review is when you check if the zones still make sense, whether anything is rarely used and can be relocated or donated, and whether the containers you chose still fit as you acquire new items. If you find yourself frequently avoiding the kitchen because it feels cluttered, it is time for a full re-evaluation.