A Practical Guide To A Renter Friendly Lighting Update That Can Move With You
A practical step-by-step guide to a practical guide to a renter-friendly lighting update that can move with you, including preparation, instructions, common issues, tips, and next steps.
A Practical Guide To A Renter Friendly Lighting Update That Can Move With You
This guide provides a renter-friendly lighting update that is fully portable, letting you improve your space without permanent changes or losing your security deposit. Using plug-in fixtures, adhesive hooks, and smart bulbs, you can create warm, layered lighting that moves with you to your next home. The steps cover planning, shopping for renter-safe items, installing without damage, and packing everything efficiently. You'll learn how to avoid common pitfalls like sticky residue and incompatible bulbs, and how to quickly reverse the setup when moving out.
Fast Answer
- Use plug-in pendant lights and battery-operated puck lights that attach with removable adhesive strips, so you can reposition or remove them without tools or damaging walls.
- Replace existing bulbs with smart LED bulbs that screw into current fixtures; they give you color and dimming control via an app, and you simply unscrew them when you move.
Before You Start
- Measure the rooms you want to update, noting ceiling height, available outlets, and furniture placement, so you can choose lighting fixtures with cords long enough to reach power sources without extension cords.
- Look for plug-in wall sconces, corded pendant kits, and battery-powered tap lights that use removable adhesive or magnetic mounts; avoid permanent hardwired fixtures.
- Check your lease and ask your landlord about any rules regarding adhesive hooks, screws, or painting, so you know what is allowed and can plan accordingly.
- Gather basic tools you likely already own, including a measuring tape, level, pencil for marking (use painter's tape on walls), and a soft cloth to clean surfaces before applying adhesives.
Step-by-Step Instructions
Plan Your Lighting Zones and Desired Mood
Start by deciding which areas need improvement and what kind of light you want. For a cozy reading corner, choose a warm, dimmable lamp. For a kitchen counter, you might need brighter, cooler light for tasks. Walk around your space at night, noting dark corners and glare spots. Make a simple list: one list for ambient light (overall brightness), one for task light (focused for reading or cooking), and one for accent light (for art or plants). This planning prevents impulse buys and ensures you get fixtures that fit your needs. A practical check: sketch a rough floor plan and label each zone with the type of light you want. Why this check matters? It helps you buy exactly what you need, saving money and reducing clutter from unused fixtures. Also, measure the distance from each planned fixture location to the nearest outlet. This tells you if a 6-foot power cord is enough or if you need a longer cord or a battery-powered option. Remember, you are designing a portable system, so each fixture must be easy to unplug and pack.
Choose Renter-Friendly Fixtures and Bulbs
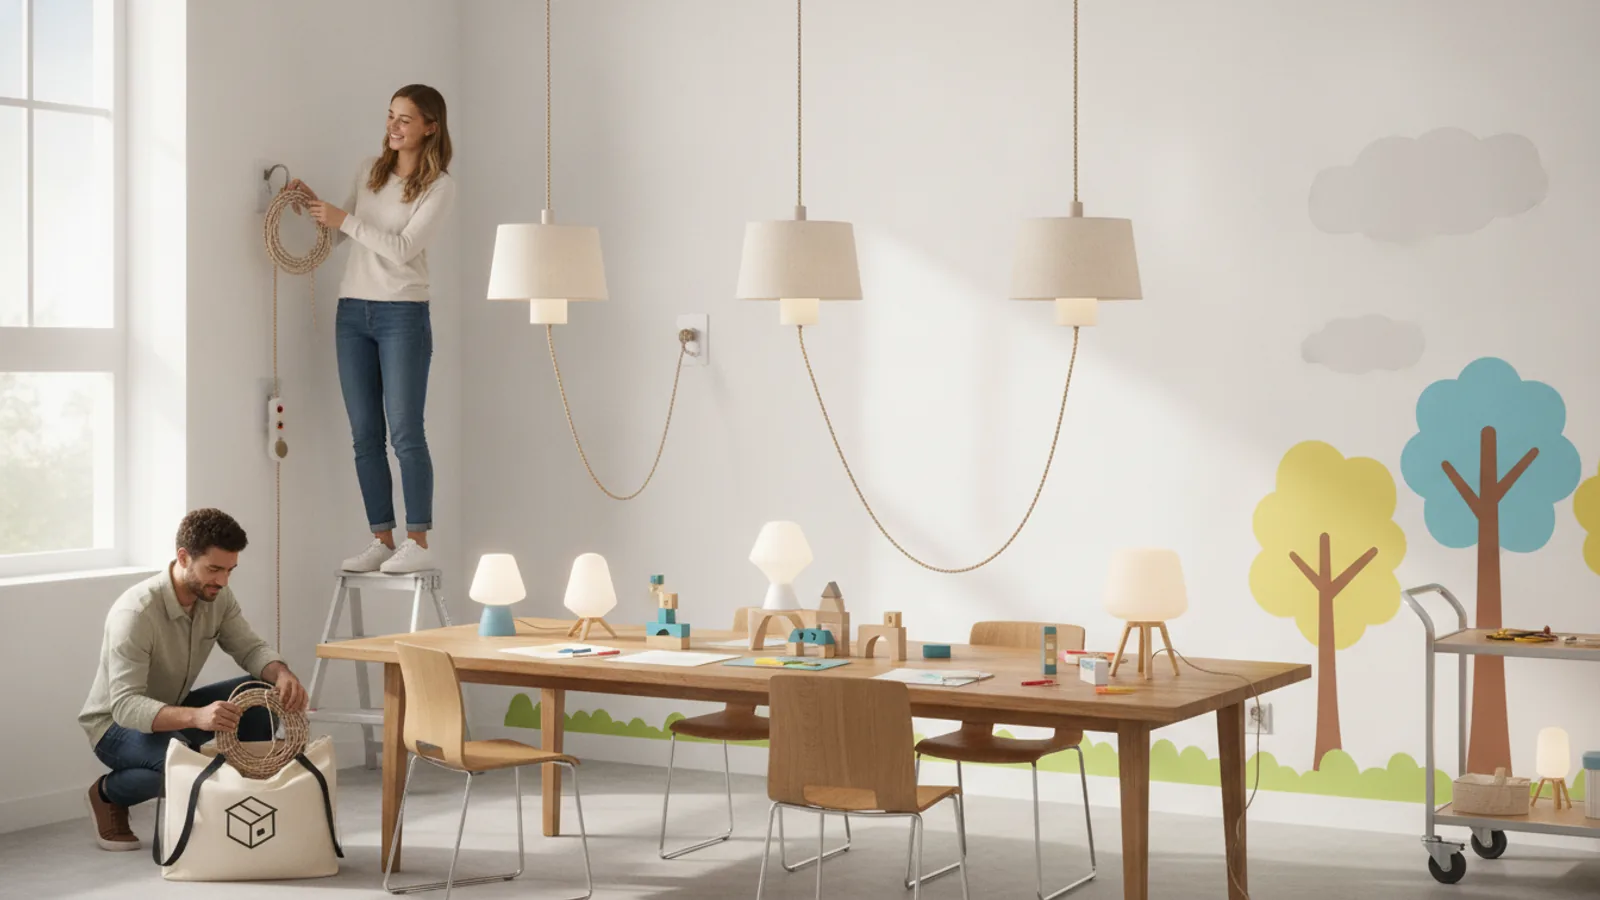
Select lighting that does not require hardwiring. Good options include plug-in wall sconces with a cord you can hide, pendant lights that hang from a ceiling hook (use a removable adhesive hook) and plug into a wall outlet, and battery-operated puck lights that stick to shelves or under cabinets. For lamps and existing overhead fixtures, invest in smart LED bulbs that fit standard sockets and offer color temperature control and dimming. When shopping, prioritize fixtures with a standard plug and a long enough cord (at least 6 feet) to reach an outlet without extension cords. Avoid fixtures that need to be screwed into the ceiling or require cutting holes. Also, choose fixtures with a simple design that matches your existing furniture, so they blend in. A practical check: read product descriptions to confirm they are portable and use plug-in or battery power. Why this check matters? It prevents you from buying a hardwired fixture by mistake, which could be dangerous to install yourself and may violate your lease.
Install Your Lighting Using Removable Mounts
For wall sconces or pendant lights that need mounting, use removable adhesive hooks or strips designed for the weight of the fixture. First, clean the wall area with a damp cloth and let it dry completely. Apply the adhesive strip to the back of the mount, press firmly against the wall for 30 seconds, and wait at least an hour before hanging the fixture. For shelf or under-cabinet lights, use the included sticky tape or magnetic strips if they work on your surfaces. For smart bulbs, simply screw them into your existing lamp sockets or light fixtures. Always make sure the power is off when installing or replacing any bulb. A practical check: after installation, gently tug the fixture to ensure it is secure. Why this check matters? It prevents falls that could break your fixture or damage your floor. Also, for pendant lights, hang them low enough to provide light but high enough to avoid bumping your head.
Arrange Cords Safely and Discreetly
Loose cords are a trip hazard and look messy. Use cable clips with adhesive backing to route cords along baseboards or furniture legs. You can also use cord covers that stick to the wall and paint over them (if allowed) or choose cord colors that blend with your walls. Another trick: run cords behind furniture or under rugs (but not under carpets where they can overheat). Use a power strip with a built-in surge protector for multiple lights near a single outlet, but avoid overloading it. A practical check: walk through the room and check that no cord is trailing across a doorway or high-traffic area. Why this check matters? It reduces the risk of tripping and prevents cord damage that could cause electrical hazards. Also, make sure cords are not pinched by furniture or doors, which can fray the wire. For pendant lights, you can twist the cord around the hanging chain or use a clip to keep it neat.
Test Your Lighting and Adjust Placement
Turn on all your new lights and assess whether they provide the right mood and coverage. Move around the room to ensure there are no harsh shadows or overly bright spots. For adjustable fixtures like swing-arm lamps, reposition them to illuminate your reading chair or artwork. For smart bulbs, set different scenes according to your activities, such as 'Relax' with warm dim light and 'Focus' with brighter white light. If a light is too dim or too bright, you can move the fixture or change the bulb's brightness setting. A practical check: sit in your usual spots (couch, desk, bed) and read a book or use a phone to see if you have enough light without glare. Why this check matters? It helps you fine-tune the setup for comfort and safety, preventing eye strain and falls in the dark.
Make a Plan for Packing and Moving Your Lights
When moving day comes, you'll want to pack your lighting safely and efficiently. First, disconnect all fixtures and bulbs. For smart bulbs, unscrew them and keep them in their original boxes or padded sleeves. For plug-in sconces and pendants, remove any mounts and thoroughly clean the wall to remove adhesive residue (use a hairdryer to loosen stubborn strips). Store all parts and hardware in a labeled zip-top bag, and wrap cords and fixtures in bubble wrap or towels. Use a small box or tote specifically for lighting, and place a checklist of what's inside. A practical check: take photos of your setup before breaking down, to help you reassemble in your new home. Why this check matters? It ensures you remember how to install the lights again and that you don't lose small screws or mounts. Also, keep your lighting items near the top of your moving boxes so you can set up a well-lit space first thing in your new place.
Quick Reference
| Situation | Action | Why it helps |
|---|---|---|
| You need a bedside reading light but do not want to clamp a heavy lamp to your headboard or nightstand. | Install a plug-in wall sconce with an adhesive mount next to your bed, or use a clip-on book light that attaches to your shelf or headboard without any permanent damage. | A plug-in sconce provides warm, indirect light that frees up your nightstand, and its adhesive mount removes cleanly when you move, so you keep your deposit. |
| You want to add under-cabinet lighting in your kitchen but cannot drill or use screws. | Use battery-powered stick-on puck lights that you mount with double-sided tape or magnetic strips, placing them under cabinets and pressing firmly for 30 seconds. | These lights require no wiring or holes, are easy to reposition if you change your mind, and their portable design means you can place them in your next kitchen or closet. |
| You need ceiling light in a living room but there is no overhead fixture and you cannot cut into the ceiling. | Install a plug-in pendant light that hangs from a ceiling-mounted adhesive hook and runs its cord down to a wall outlet, securing the cord with clips along the wall. | This gives you a stylish overhead glow without any hardwiring, and the adhesive hook is designed for rental use, so you can remove it cleanly when you leave. |
Common Issues
- Adhesive residue left on the wall after removing a mount.: Use a hairdryer to warm the adhesive for about a minute, then gently peel it away. Rub remaining residue with a bit of cooking oil on a cloth, then wash with soapy water. If necessary, use a magic eraser sparingly.
- Your smart bulbs do not connect to the app or they flicker.: Ensure the bulb is fully screwed in and the fixture is powered on. Move your smartphone closer to the bulb and check if your Wi-Fi network is 2.4 GHz (many smart bulbs do not support 5 GHz). If flickering persists, try a different fixture or reset the bulb by turning it off and on several times.
- The adhesive hook falls off because the wall is textured or painted with a flat finish.: Clean the area thoroughly to remove any dust, and switch to a heavy-duty adhesive strip rated for your wall type. For a temporary fix, use a small suction cup hook with a lock that works on smooth surfaces. If the problem continues, consider a floor lamp instead of a wall mount.
Advanced Tips
- For a cohesive look, buy all your smart bulbs from the same brand and use their app to create synchronized scenes across rooms, but remember to download the app before you move and keep your login details.
- Place a battery-powered candle with a timer in different corners of a room to create depth and a soft, romantic glow without any wiring.
- Invest in rechargeable batteries for your puck lights to save on waste and money long-term; store the charger with your lighting boxes so you don't forget it.
Final Checklist
- Measure the distance from each planned light location to the nearest outlet and ensure your cord length is sufficient.
- Read your lease and ask your landlord if adhesives are allowed; test any adhesive on a hidden spot first.
- Choose fixtures that are explicitly plug-in, battery-operated, or clip-on; avoid hardwired models.
- Pack all lighting components, including bulbs, cords, and mounts, in one labeled box and take photos for easy reassembly.
FAQ
Can I paint the cord or the fixture to match my wall?
Yes, you can safely paint fabric cords, but do not paint plastic insulation or any part that conducts electricity as it could cause a fire hazard. For pendant light cords, you can wrap them with fabric cord covers or use zip ties to bundle them. If you want to paint the metal part of a fixture, use a spray paint designed for metal and make sure to cover the socket and bulb area.
Will battery-operated lights be bright enough for reading?
Many puck lights and tap lights provide adequate task lighting for small areas like a desk or under-cabinet, but they may not be as bright as a plug-in lamp. For reading, look for a battery-operated book light that has a high lumens rating (at least 80 lumens) and a focused beam. Alternatively, use a clip-on LED reading light that runs on batteries, and position it directly over your book.
When I move out, do I need to reinstall all original light fixtures?
Yes, because you likely only removed bulbs, not the original fixtures themselves. If you replaced a lamp or a ceiling fixture (which is not recommended), you must keep the original fixture and reinstall it before moving. For plug-in sconces, you removed the entire mount, so you just need to clean the wall. For smart bulbs, simply unscrew them and screw back the original bulbs if they were provided.