Common Mistakes When Setting Up A Renter Friendly Lighting Update That Can Move With You
A practical step-by-step guide to common mistakes when setting up a renter-friendly lighting update that can move with you, including preparation, instructions, common issues, tips, and next steps.
Common Mistakes When Setting Up A Renter Friendly Lighting Update That Can Move With You
Upgrading the lighting in a rented home can be tricky because you need to keep your security deposit intact and avoid permanent changes. This guide walks you through common mistakes people make when setting up renter-friendly lighting that can move with you, from choosing the wrong bulbs to damaging walls with adhesive hooks. You'll learn how to plan, install, and remove your temporary lighting setup cleanly, ensuring you can take your lights with you and leave no trace. Follow these practical steps to enjoy beautiful, personalized lighting without risking your deposit or breaking lease rules.
Fast Answer
- Always use removable adhesives and command hooks rated for the weight of your fixtures, and test them on a small area first.
- Choose plug-in or battery-powered lights with remote controls instead of hardwired fixtures, and keep all original packaging for easy removal.
Before You Start
- Measure the exact dimensions of the spaces where you want to hang lights, including ceiling height and wall width, so you can choose fixtures that fit without needing to drill.
- Read your lease agreement carefully and note any clauses about holes, paint, or adhesive residue, so you know what's allowed and what to avoid.
- Gather all necessary tools and materials such as command hooks, removable adhesive strips, cable clips, zip ties, and a stud finder, ensuring you have enough to complete the job.
- Decide on a lighting plan that suits the room, considering the mood you want to create and the practical need for task lighting, while keeping all lights plug-in or battery-powered.
Step-by-Step Instructions
Choose the Right Temporary Light Fixtures
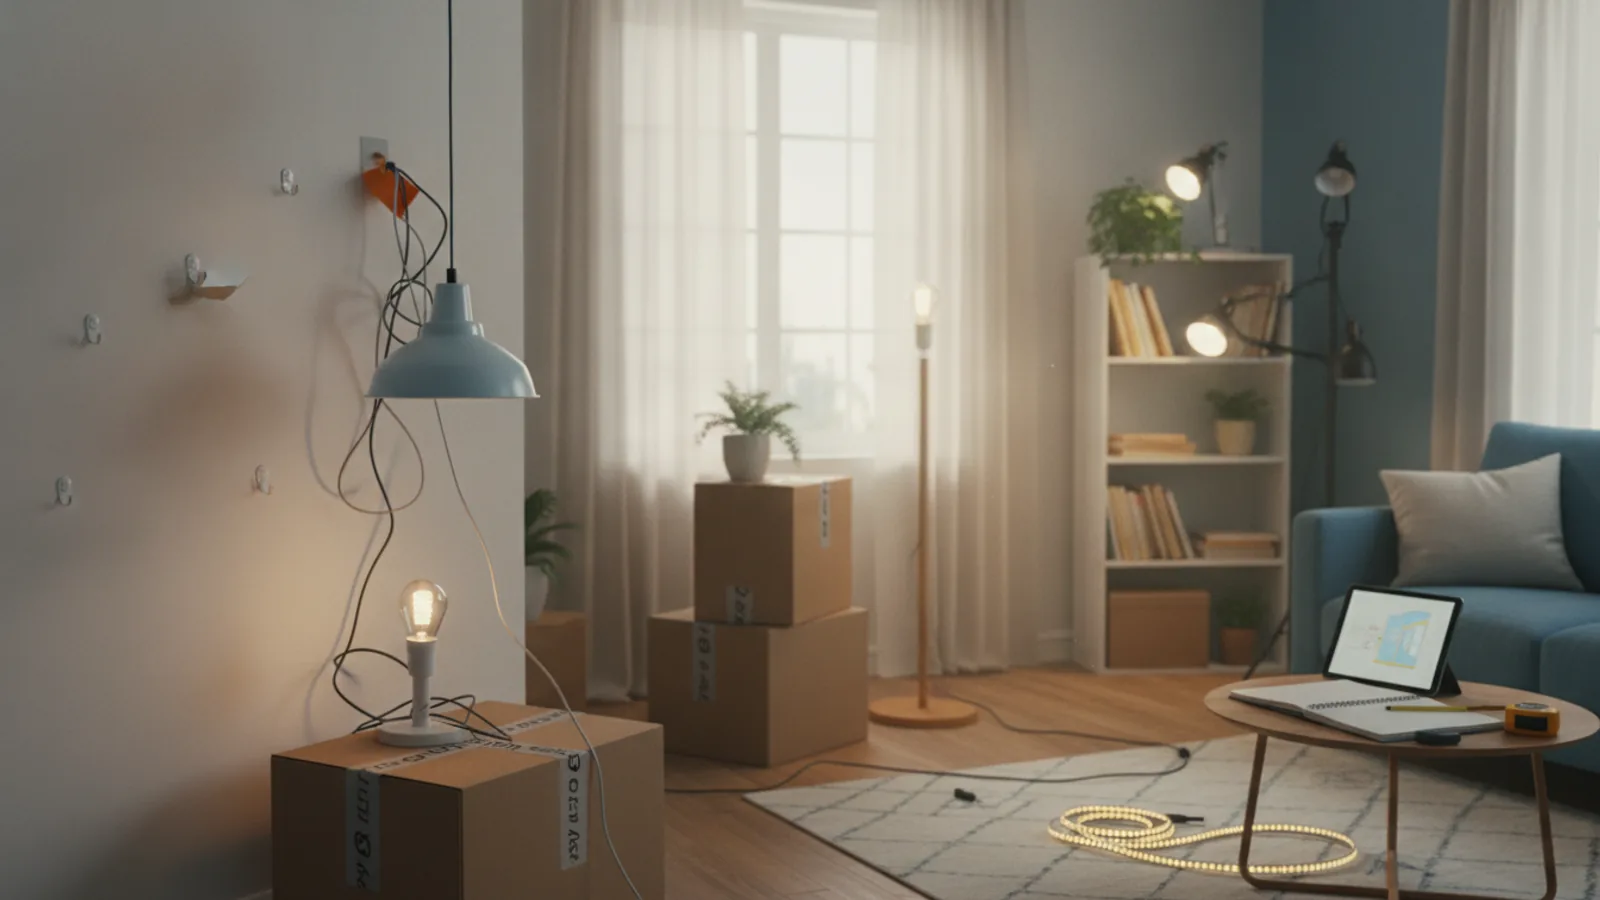
The first step is selecting light fixtures that are inherently temporary and easy to move. Avoid anything that requires hardwiring into the ceiling or walls, as that is a permanent change that will likely require landlord approval and professional installation. Instead, opt for plug-in pendant lights that can hang from a hook, battery-operated LED strip lights with adhesive backing, or portable table and floor lamps that simply plug into an outlet. When choosing, consider the weight of the fixture and how it will attach to your rental's surfaces. Recessed lighting isn't an option, so look for surface-mounted or hanging designs. Before buying, evaluate the room's layout, where outlets are located, and how you'll route power cords safely along walls or baseboards. Measure the space to ensure the light's drop or size fits appropriately without obstructing walkways or furniture. Also, think about portability: can you easily pack it in a box when you move? Choose fixtures that are lightweight and come apart if possible. Remember to pick bulbs that are LED to reduce heat and energy consumption, and check the color temperature to match your desired ambience. This careful selection sets the foundation for a successful renter-friendly setup that you can pack up in minutes when you relocate.
Plan Your Layout and Power Source Strategy
Now that you have your lights, map out where each one will go. Start by identifying the primary power source: an existing outlet. Plug-in fixtures need to be within extension cord range of an outlet, so measure the distance and plan cord routes that don't create trip hazards. Use removable cable clips or cord covers to secure cords along baseboards or door frames, avoiding high-traffic areas. Place lamps in corners or on tables, and hang plug-in pendants from hooks or lightweight ceiling hooks that use adhesive. For battery-operated lights, decide where to place the batteries—some units have separate battery packs that can be hidden behind furniture. Think about how you'll turn the lights on and off: remote controls, timers, or smart plugs are all renter-friendly options because they don't require hardwiring. Ensure that any remote or smart hub is easy to access and doesn't require permanent installation. Also, plan the visual effect: mix different light sources like a main pendant, accent strips, and floor lamps to create layers. Use painter's tape to temporarily outline where you think lights will hang, and adjust based on sightlines from doorways and seating. This step prevents you from making random holes or sticky marks only to realize the placement is off.
Master and Test the Adhesive Mounting System
The biggest mistake in renter lighting is using the wrong adhesive and ending up with torn paint. Before mounting anything heavy, test all adhesives on a small, hidden area of the wall—like inside a closet—to see if they pull paint off when removed. For most surfaces, command hooks and strips from the same manufacturer are the safest bet because they are designed to be removed without damage. When applying, clean the surface with rubbing alcohol and let it dry completely. Attach the adhesive strip to the wall, press firmly for 30 seconds, and wait at least an hour before hanging anything. Follow the weight limits exactly; if a fixture is heavier, use multiple hooks or a ceiling hook with a pull-to-release design. For ceilings, use hooks that attach to the ceiling with adhesive, but make sure the surface is flat and not textured. Never use 3M mounting tape on painted drywall unless it's specifically labeled as damage-free, and always remove it at a 45-degree angle slowly. If you're using battery-powered strips, apply them to furniture or trim that you own, or use magnetic strips if the light has a magnetic back. The goal is to ensure that when you move, every adhesive comes off cleanly, leaving no residue or chips.
Install Each Light with Damage-Free Techniques
Now it's time to actually install your lights. Start with overhead pendants: screw a hook into the ceiling? No, don't drill. Instead, use a ceiling hook that works with adhesive or, if the ceiling is drywall and you have permission, a small hook with a single screw that can be patched later. For a truly damage-free option, use a clamp-on light that attaches to a shelf cabinet or headboard. For wall-mounted fixtures like sconces, choose battery-operated sconces that stick with adhesive or come with a mounting plate that can be easily unscrewed. When hanging, first attach the hook or adhesive plate to the ceiling or wall, allowing proper cure time as per the instructions. Then hang the light, ensuring the cord is neatly secured and doesn't dangle dangerously. For strip lights, stick them along the underside of shelves, behind desks, or above cabinets, but never on wallpaper or fresh paint. Use the included clips to secure the strips at corners. For every light, double-check that it is stable and won't fall due to a weak adhesive. Give each installation a gentle tug test. Also, make sure that any plug is easily accessible and that cords aren't pinched under furniture. Finally, turn on the light and adjust it to the desired angle and height, checking the illumination from all seating positions.
Arrange Smart Controls and Daily Operation
To make your renter lighting feel permanent and user-friendly, set up controls that don't require rewiring. If your lights have remotes, mark each remote with tape and store them in a consistent place, like a bowl on a shelf. Consider using smart plugs that you can control with your phone or voice assistant, but remember that these are not battery-powered and need to be plugged into outlets. If you use a smart plug, you'll need to download the app and follow the device's setup process, which is straightforward. For battery-powered lights, you might need to replace batteries occasionally, so choose rechargeable ones and keep a charger nearby. You can also set timers on smart plugs or use the built-in timers on some battery lights. For daily operation, always ensure that switches and plugs are easy to reach and that you're not overloading outlets. If you notice any flickering, check the bulb and connection. If you're away for a long period, turn off all lights to save battery or electricity. Also, think about how you'll turn lights on without stumbling in the dark: install a tap-switch or keep one light on a timer. This organization makes your temporary setup feel like a permanent smart home feature.
Create a Pre-Move Removal and Packing Routine
The final and most critical step is planning for the day you move out. Start by creating a checklist of every light fixture you've installed, note which adhesive hooks or strips you used, and where they are. In the weeks before you move, begin testing removal on a few items to see if any adhesive leaves residue. To remove, gently pull the hook base and strip according to the instructions, then clean any remaining adhesive with a dab of rubbing alcohol or a magic eraser. For battery-powered lights, remove the batteries and pack them in original boxes. For plug-in fixtures, unplug and wrap cords neatly with twist ties. Take down strip lights carefully, rolling them around a large spool to avoid kinking. For any holes that were made despite your best efforts, fill them with spackle and paint touch-up (or ask the landlord if they have leftover paint). Pack everything in sturdy boxes and label them 'Lights - fragile'. Keep all components together, including remotes, screws, and adhesive strips. If you mounted anything with dual lock or velcro, remove the opposite side from the wall and clean the surface. This routine ensures that on moving day, you can quickly disassemble your lighting, patch any minor issues, and leave your rental in impeccable condition, ready for your deposit refund.
Quick Reference
| Situation | Action | Why it helps |
|---|---|---|
| You want to hang a pendant light from a ceiling but are afraid of drilling. | Use a command ceiling hook rated for at least 2 kg, clean the ceiling with rubbing alcohol, and press firmly for 30 seconds. | This hook provides a secure hold without leaving permanent holes, and it can be easily removed when you move. |
| You have a heavy floor lamp that is unstable on carpeting. | Place a flat wooden board under the lamp's base to distribute the weight, and use a non-slip mat to keep it in place. | It stabilizes the lamp without any alterations to the rental, and the board is simple to pack and move. |
| You want to use wall sconces without damaging your walls. | Choose battery-operated sconces with adhesive backing, and mount them on smooth clean walls, pressing firmly for 30 seconds. | This avoids drilling and any hardwired electrical work, making removal residue-free and quick. |
Common Issues
- Adhesive strips fall off a few hours after installation.: Remove the strip completely, clean the wall with isopropyl alcohol, let it dry, then reapply with more pressure and wait 1 hour before hanging.
- Cords create a tripping hazard across a walkway.: Reroute cords along the wall using command cord clips, or use a flat extension cord that can be taped down with removable floor tape.
- The light flickers or doesn't turn on consistently.: Check the bulb's contact and re-seat it. If it's a plug-in, try a different outlet, and if it's battery-powered, replace the batteries with fresh ones.
Advanced Tips
- For multisurface adhesion, use a gel-based adhesive that is specifically labeled as removable, and test it on the actual surface for 24 hours before trusting it.
- To hide cords in high-traffic areas, run them along door frames and use paintable cord covers that mimic baseboard profiles and can be painted to match.
- Consider using a portable magnetic track light that adheres to the back of your desk or headboard, letting you move it without any wall contact.
Final Checklist
- Test all adhesive removals on a hidden spot and ensure no paint damage.
- Confirm every fixture is securely mounted and stable before regular use.
- Take inventory of all removable components and store them in labeled boxes.
- Plan a moving-day removal schedule to allow time for adhesive cleanup.
FAQ
Can I use extension cords to power multiple lights in my rental?
Yes, you can use extension cords, but never daisy-chain them and always choose rated cords for the wattage. Plug the extension cord directly into a wall outlet, not another strip, and secure it with clips to avoid trip hazards. Also, avoid running cords under rugs unless they carry a heavy-duty rating.
What should I do if I accidentally peel off paint when removing adhesives?
If a small chip occurs, use the landlord's supplied paint to do a touch-up. If no paint is available, purchase a sample size that matches the wall color. Sand the area lightly, apply primer, and paint over it. For large damage, consult your landlord before attempting repairs.
How can I make my temporary lights seem more permanent without installing wiring?
Use matching fixtures and color temperatures, install a dimmer switch on a smart plug, and conceal all cords neatly. You can also use ceiling-mounted light bars that adhere securely and look like built-in coves. Ensure all visible components are uniform and tidy.