Common Mistakes When Setting Up A Renter Friendly Bathroom Refresh Without Permanent Changes
A practical step-by-step guide to common mistakes when setting up a renter-friendly bathroom refresh without permanent changes, including preparation, instructions, common issues, tips, and next steps.
Common Mistakes When Setting Up A Renter Friendly Bathroom Refresh Without Permanent Changes
Renovating a rental bathroom can feel risky when you cannot make permanent changes. The goal is to refresh the space without losing your deposit or angering your landlord. This guide covers the most common mistakes renters make, such as using damaging adhesives, ignoring moisture control, or forgetting to document the original condition. You will learn how to choose removable products, protect surfaces, keep ventilation safe, and restore the room when you move out. By following these practical steps, you can create a spa-like bathroom that is stylish, functional, and fully reversible.
Fast Answer
- Stick to removable items like peel-and-stick tiles, temporary wallpaper, and over-the-toilet storage, and always test them on an inconspicuous area first.
- Protect surfaces with painter's tape and plastic sheeting, use a hair dryer to warm adhesives, and keep a log of every change you make.
Before You Start
- Take close-up photos of every surface in the bathroom, including walls, floors, tiles, grout, and around fixtures, to document pre-existing wear.
- Measure the exact dimensions of your walls, floor, and countertop so any temporary coverings or organizers will fit without cutting or damage.
- Buy a roll of painter's tape, a hair dryer, and a spay bottle of water, which will help you apply and remove temporary items without residue.
- Read your lease or ask your landlord about any restrictions on adhesives, wall coverings, or floor modifications before you start.
Step-by-Step Instructions
Assess the Original Bathroom Condition
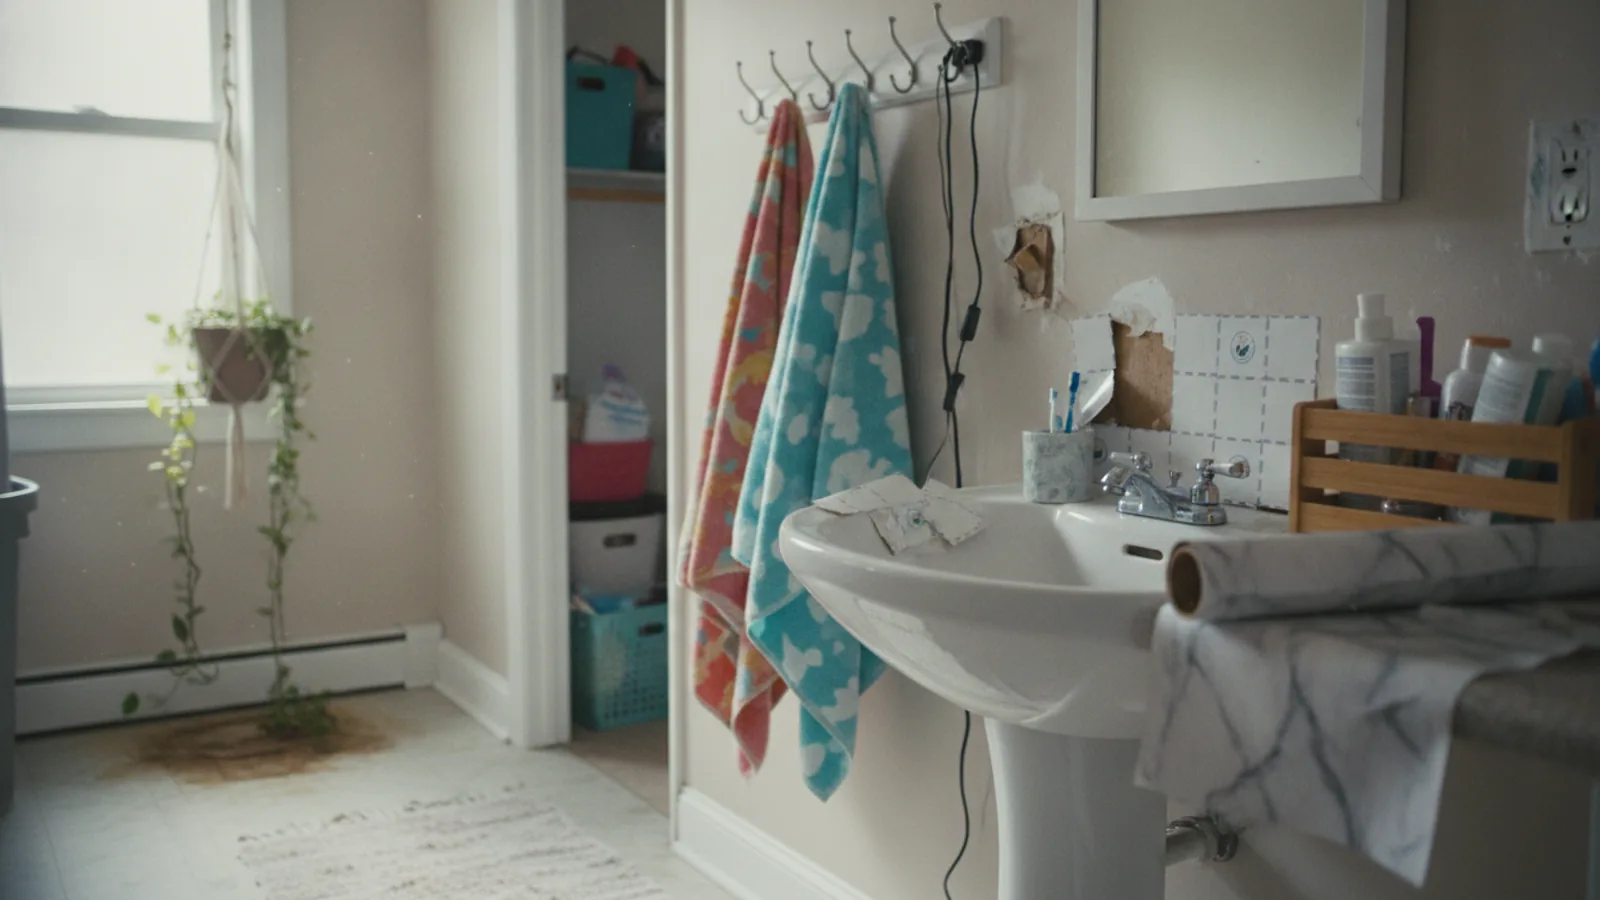
Start by closely examining every surface in your bathroom, from the ceiling to the floor. Look for existing chips, cracks, stains, or loose tiles, and note any areas where paint is already peeling. Take clear photos with good lighting, and store them in a cloud folder or with your lease documents. This evidence protects you if a landlord tries to claim you caused damage that existed earlier. Also, identify the material of your walls (painted drywall, tile, or laminate) because that determines which temporary products are safe to use. For example, wallpaper may peel paint on high-sheen surfaces, while some adhesives can damage tile glaze. If your walls are damp or have mildew, fix that before adding any coverings. This step matters because a fresh refresh cannot hide ongoing structural issues, and documenting the baseline prevents disputes later. Finally, list any areas you want to improve, such as an outdated backsplash or plain mirror frame, so you have a clear renovation plan.
Choose Truly Reversible Products
Select items that are specifically labeled as removable, such as peel-and-stick TIC TILES, temporary wallpaper, or magnetic hooks. Read the package instructions to confirm the adhesive is low-tack and does not require a solvent for removal. For floors, use interlocking vinyl planks or a waterproof rug rather than adhesive tiles, which can leave residue. For the shower, consider a temporary liner or a soap bar that avoids suction cups, which often fall and leave marks. When in doubt, buy a small sample of the product and test it on an inconspicuous area, such as inside a linen closet or behind the door. Apply it for 48 hours, then pull it off to see if it leaves a mark or damages the finish. This step is critical because even 'removable' products can react with certain paints, particularly matte or eggshell finishes. Also, avoid any adhesive that claims to be 'permanent' or 'heavy-duty,' as those usually bond too strongly.
Protect Floors and Surfaces Before Applying
Before you start any makeover, lay down drop cloths or plastic sheeting on the floor to catch adhesive peelings, paint drips, or water splatters. Use painter's tape to mask off edges of tile, countertops, and fixtures like the bathtub or sink. Apply tape carefully, pressing down the edges to create a clean line. If you are using a hair dryer to warm an adhesive, also protect the surface from heat by holding the dryer at least six inches away and moving it constantly. When installing temporary items, clean the surface with a gentle, non-abrasive cleaner and allow it to dry completely, as dust or moisture will weaken the adhesive. This step matters because residue and drips are common causes of damage that you must reverse later. Taking the time to protect the room now saves you from having to scrub sticky residue or repaint walls when you move out. Also, remove and re-tape any areas where you notice the adhesive beginning to curl.
Apply Temporary Coverings with Care
When you are ready to install items like peel-and-stick tiles or wallpaper, start from the center of the area and work outward to avoid bubbles. Use a smoothing tool (a credit card wrapped in a cloth works) to press out air pockets as you go. If you make a mistake, peel the item up slowly and reposition it immediately, as the adhesive may set after a few minutes. For tiling a backsplash, align the pattern carefully and trim edges with a sharp craft knife and a straight edge, but always cut on a protected surface. For wallpaper, spray the wall lightly with water so the paper slides slightly, then adjust it. This step matters because edges that are not sealed are more likely to peel, and bubbles look unprofessional. After each piece is placed, run your finger over the edges to ensure they are flat. If you are covering a large area, work in sections and take breaks to keep your hands clean, as oil and dirt can reduce stickiness.
Install Removable Fixtures and Organizers
For accessories like towel bars and shelves, use tension rods, over-the-door hooks, or freestanding units that do not require drilling holes. If you must use adhesive hooks, choose ones that claim to hold at least five pounds, but test them with a small towel before relying on them to hold heavy items. For a mirror upgrade, consider a peel-and-stick mirror frame that adds style without replacing the existing glass. When adding storage, use stackable shelves or caddies that sit on the back of the toilet or in the corner, rather than drilling into tile. Install a weighted shampoo shelf in the shower with a rust-resistant finish, but only if the shelf sits securely. This step matters because improperly installed organizers can fall, cause injury, or damage fixtures. Also, check that any new item does not block vents or electrical outlets, which could be a fire hazard. Always measure the space and read the product instructions before committing.
Restore and Remove When Moving Out
When your lease ends, plan to remove all temporary items at least a week before final inspections. Start by peeling off a corner of each item and pulling slowly at a 45-degree angle, using a hair dryer on low heat to warm the adhesive. If any residue remains, apply a small amount of rubbing alcohol to a cotton ball and dab it gently, then wipe clean. For larger patches, use a putty knife with a soft cloth cushion to avoid scratching. Once everything is removed, clean the entire bathroom with a mild soap and water, and touch up any paint that may have come off with a small roller using matching paint. Check your original photos to confirm the room matches its condition. This step matters because moving out cleanly protects your deposit and your reputation with the landlord. Also, discard any adhesive that is no longer sticky, and properly recycle or dispose of materials.
Quick Reference
| Situation | Action | Why it helps |
|---|---|---|
| You see bubbles under a peel-and-stick tile after application. | Pop the bubble with a pin, then use a credit card wrapped in a cloth to press out the air, starting from the edge. | Releasing the trapped air prevents the tile from lifting over time and keeps the surface smooth and invisible. |
| A temporary wallpaper peels at the seams after a week of use. | Peel the wallpaper back to the seam, spray the wall lightly with water, and reapply while pressing firmly. | Adding moisture reactivates the adhesive and allows you to smooth it down without leaving a gap that collects dirt. |
| An adhesive hook falls off the wall repeatedly. | Clean the wall with rubbing alcohol, allow it to dry, then apply a new hook and press for 30 seconds before holding a load. | Dust and oil reduce stickiness; a clean dry surface ensures maximum bond strength for the hook's rated weight. |
Common Issues
- Adhesive leaves a sticky residue on the wall after removal.: Apply a small amount of white vinegar or rubbing alcohol to a soft cloth and rub in a circular motion until the residue lifts, then wipe with a damp cloth.
- Peel-and-stick tiles warp in the humid bathroom environment.: Remove the tiles and reapply them on a dry day, ensuring the wall is completely dry, and consider using a bathroom-specific adhesive that resists moisture.
- You accidentally scratched the paint when installing items, leaving a visible mark.: Fill scratches with a small amount of white toothpaste or a baby powder paste, gently buff with a soft cloth, and then touch up with matching wall paint.
Advanced Tips
- Place removable wallpaper only on smooth walls; if your wall has texture, use a vinyl-backed wallpaper that bridges over bumps without showing every imperfection.
- For a marble look without heavy stone, use a layer of clear, removable, low-tack adhesive film over the countertop and smooth it with a squeegee to prevent air bubbles.
- Add a temporary backsplash made of self-adhesive panels that are rated for high humidity, and seal the seams with clear, removable silicone caulk, then peel it off easily at move-out.
Final Checklist
- Document the original condition of the bathroom with timestamped photos before you begin.
- Test all temporary products on a hidden spot and wait 24 hours to check for damage.
- Apply every item using a hair dryer and smoothing tool to secure edges and prevent bubbles.
- When moving out, remove all items, clean all surfaces, and compare the room to your original photos.
FAQ
Can I use regular double-sided tape to put up posters in the bathroom?
No, standard double-sided tape often fails in humid bathrooms and can leave sticky marks on paint. Use a removable hook or peel-and-stick hook designed for bathrooms, and test it first to ensure it does not damage the finish.
What is the best way to remove adhesive hooks without damaging the wall?
Slide a piece of dental floss behind the hook and saw back and forth to cut the sticky pad, then pull the pad off slowly. If residue remains, apply a small amount of rubbing alcohol and gently rub it clean.
Are peel-and-stick tiles removable from textured bathroom walls?
They may not adhere well to textured surfaces, and removing them can be difficult. Instead, use a non-adhesive frame or a freestanding panel to cover the area, or smooth the wall with a low-tack film first.