What To Check Before Choosing A Renter Friendly Lighting Update That Can Move With You
A practical step-by-step guide to what to check before choosing a renter-friendly lighting update that can move with you, including preparation, instructions, common issues, tips, and next steps.
What To Check Before Choosing A Renter Friendly Lighting Update That Can Move With You
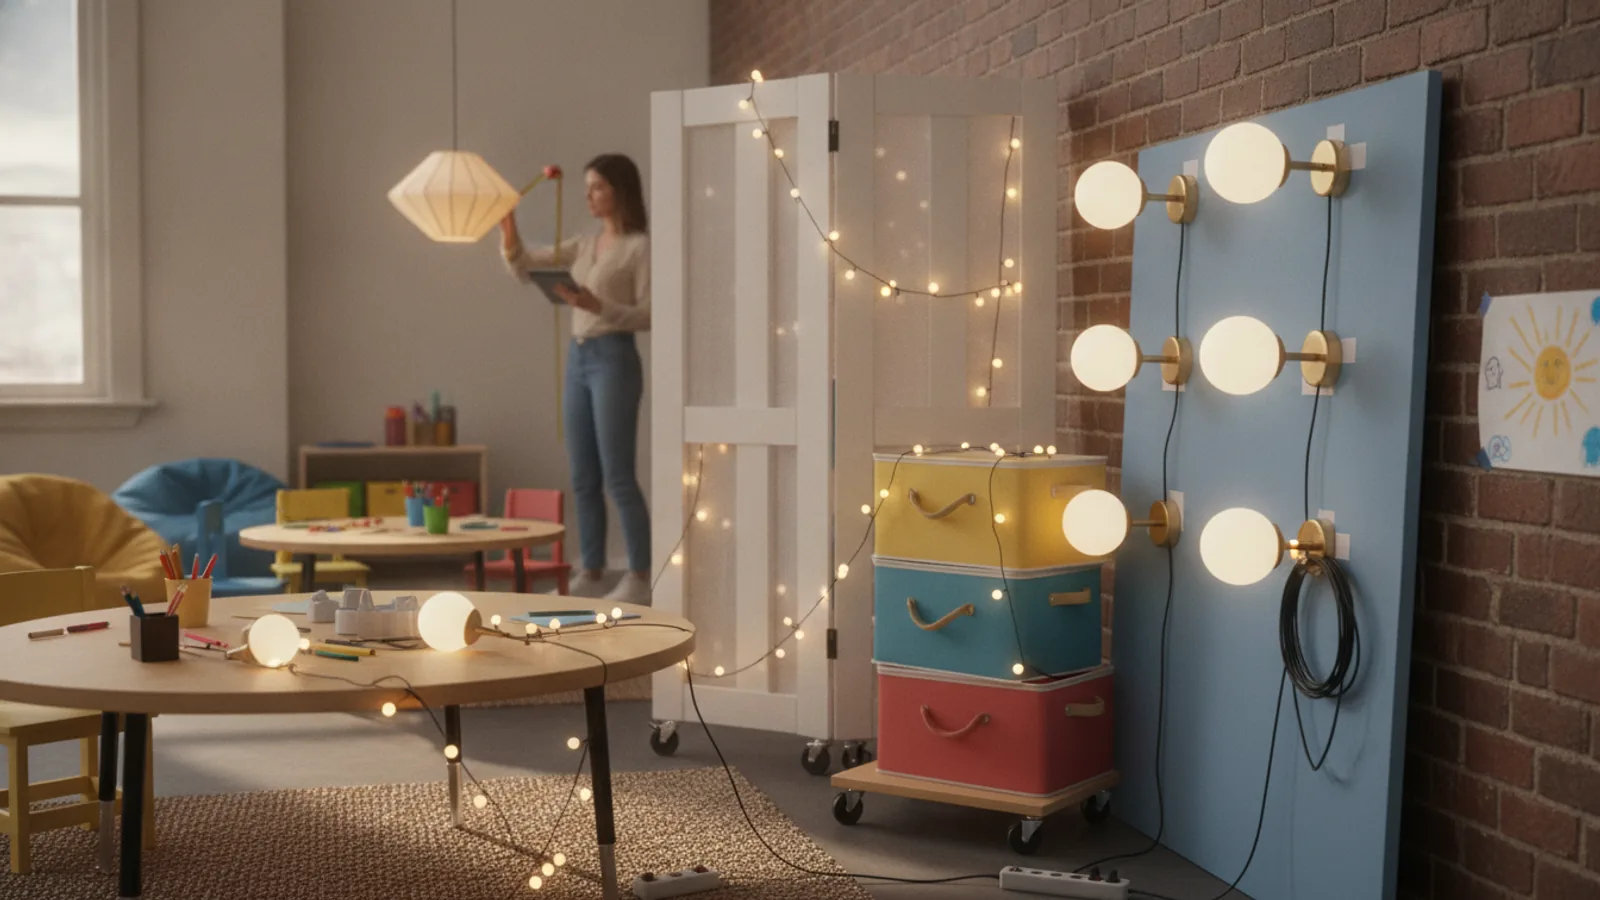
Before choosing a renter-friendly lighting update that can move with you, you need a careful checklist that protects your security deposit, avoids permanent changes, and ensures the lighting still works well in your next home. Renter-friendly lighting means fixtures, strips, lamps, and bulbs that install without drilling, rewiring, or altering walls. Your checks should cover power source, adhesion method, size, and removability. You also need to think about how the lighting will fit future spaces, whether it can be reused, and whether it leaves any residue or damage. This guide walks you through six practical checks, offers quick-reference scenarios, troubleshooting tips, and an FAQ to give you confidence in every lighting choice you make. By following these steps, you can enjoy beautiful, functional lighting now and pack it up cleanly when you move.
Fast Answer
- Check that the lighting uses plug-in, battery, or rechargeable power with no hardwiring, and confirm you have a convenient outlet or charging plan for your current room.
- Confirm the mounting method is damage-free by looking for removable adhesive strips, magnetic mounts, or clamp-on designs, and test the adhesive on a small hidden area first.
Before You Start
- Measure the exact area where you plan to place the lighting, including wall width, ceiling height, and distance to the nearest outlet.
- Take clear photos of your current wall and furniture surfaces so you can compare after the lighting is installed.
- Read your lease's rules about temporary fixtures, adhesive hooks, and wall damage to know what is allowed.
- Gather a small toolkit with a level, a soft cloth, rubbing alcohol, and painter's tape for surface preparation.
Step-by-Step Instructions
Check the Power Source for Portability
First, decide how your lighting will receive electricity. Renter-friendly options include plugin lamps, battery-operated LED strips, or rechargeable fixtures. Plug-in designs are simple but require proximity to an outlet, which may force you to run cords along the wall or under rugs—a trip hazard or an eyesore. Battery-powered or rechargeable lights offer placement flexibility, but you must consider battery life, charging frequency, and whether the battery compartment is accessible. Look at the product description or package for the power type and any required adapters. For rechargeable lights, note the charging time and whether you need to replace the battery eventually. To avoid permanent electrical changes, steer clear of anything that requires hardwiring or a new outlet. As a practical check, verify that the nearest outlet is within the cord or power adapter reach, and measure to be sure. This step matters because if the power method doesn't fit your current room, you'll either need to rearrange furniture or return the product.
Inspect the Mounting Mechanism for Residue-Free Removal
Next, examine how the lighting attaches to walls, ceilings, or furniture. Common renter-friendly mounts include strong adhesive strips, magnetic plates, or spring-loaded clips. Adhesive strips are the most versatile, but their holding power and removability vary. Look for products that explicitly mention 'damage-free removal' or 'no residue.' Check the adhesive type: some use a gel that leaves marks, while others use a stretchable tape that releases cleanly when pulled at a specific angle. For magnetic mounts, confirm that both the light and the metal plate have enough magnetic strength for the weight—test by attaching the light and gently tugging. Clamp or clip designs work well on shelves or tabletops but may not hold on curved surfaces. Before committing, test the adhesive on a small, hidden spot, such as behind a piece of furniture. After application, wait 24 hours, then gently peel using the low-angle pull method. This check matters because a failed mount could damage the surface or cause the light to fall, risking breakage or injury.
Measure the Lighting's Size and Weight for Reusability
Before buying, measure the lighting unit's dimensions and weight. For strip lights, note the length and whether it's cuttable. For lamps or fixtures, check the base width, height, and clearance needed. Also, consider the lighting's weight—adhesive strips have weight limits, so a heavy pendant light cannot be attached with a simple strip. To ensure reusability, ask yourself: will this still fit in my next apartment? A long strip cut to fit your current wall cannot be extended later. Look for lengths that are adjustable or modular, such as strips with connectors for adding segments. For lamps, verify the shade size won't hit low ceilings or doorways in typical future homes. As a practical check, take a tape measure with you to the store or measure the package in your cart. Weigh the item if possible. This check is crucial because renters need lighting that can adapt to different room sizes and layouts; buying an oversized fixture limits your options later.
Evaluate Light Output and Color to Suit Multiple Spaces
Consider the brightness and color temperature of the lighting and how it might work in future rooms. Look for lumens (brightness) and kelvin (color temperature) on the package. Warmer white (2700K-3000K) feels cozy, while cooler white (4000K-5000K) is more alerting. Adjustable color temperature is a bonus because you can switch between modes. Dimming ability is also valuable—check if the light has a dimmer switch or works with a plug-in dimmer. To make the light versatile, choose one that offers multiple brightness levels and color options. Also, think about the beam angle: a wide angle for general room lighting and a narrow angle for task lighting. This check matters because renters often move into spaces with different natural light and room purposes; a versatile light can serve as a reading lamp in one home and a night light in another. Test the light in your home before the return window closes to see if you like the output.
Confirm No Permanent Alterations with the Lease and Wall Type
Before installation, verify that your mounting method won't violate your lease or damage the surface. Read your rental agreement's clause about holes, nails, and adhesive hooks. Even if you think a product is damage-free, the property manager may have specific rules. Also, inspect your wall type: painted drywall, textured surfaces, wallpaper, brick, or tile. Many adhesives don't stick well to heat-resistant or silicone-painted walls. For brick or concrete, you may need a different mounting solution. Use a small piece of painter's tape to test the paint's finish—if it peels, adhesive might peel too. Check for any existing damage in the area and document it with photos for your move-out records. If you're unsure, contact your landlord in writing and ask about temporary fixtures. This check is essential because a violation could cost you deposit money or you might have to uninstall and repair alterations.
Plan the Uninstall Process Before You Buy
Always think about removal before installation. Read the product's removal instructions: does it require a special solvent, a hairdryer to soften adhesive, or a specific pulling technique? Look for videos or reviews that describe how easy (or hard) it is to remove. Some adhesive strips require you to pull them straight down slowly, not upwards. Others leave a sticky residue that needs a citrus cleaner. If the product doesn't have clear removal guidance, it's risky. Also, consider the power source for removal: if the light is battery-powered, remove the batteries first. For plug-in lights, unplug and coil the cord neatly. Keep all packaging—boxes, mounting brackets, screws, and instructions—so you can pack everything for the move. As a practical check, set a reminder to do a trial removal of one strip after a month. This verifies the surface isn't damaged and the strip comes off as promised. Careful planning now avoids disasters later.
Quick Reference
| Situation | Action | Why it helps |
|---|---|---|
| You want to add under-cabinet lighting in a rental kitchen but worried about damage | Choose a rechargeable LED puck light that uses magnetic mounting plates; simply stick the plate with a high-quality removable adhesive strip to the cabinet undersurface, let it cure for 24 hours, then attach the puck. | This gives you strong, secure lighting without drilling, and you can pop the puck off for recharging or moving—the plate comes off cleanly with a low-angle pull. |
| You need a floor lamp that won't take up much space in a small rented apartment | Select a slim, plug-in LED floor lamp with a weighted base and a long cord, and place it next to a sofa or reading chair where it won't block high-traffic paths. | A permanently installed light would be intrusive; a freestanding lamp travels with you and requires no modifications, keeping your deposit safe. |
| You want wall accent lighting in a room with painted drywall that has a matte finish | Test a small 1-inch strip of the adhesive on a section of wall behind a bookshelf, wait 24 hours, then peel it off to check for paint damage before installing the whole strip. | Matte paint can be more prone to peeling; this test confirms the adhesive is safe for your specific wall surface and lets you change your approach if needed. |
Common Issues
- Adhesive strips won't stick to the wall.: Clean the wall area with isopropyl alcohol and wait for it to dry completely. If the wall is textured, try using a stronger adhesive rated for textured surfaces, or switch to a clamp-on design that grips edges without adhesives.
- The strip light leaves a sticky residue when removed.: Use a small amount of oil (like cooking oil) on a cloth to gently rub the residue away, then clean with soapy water. Always test in an inconspicuous spot first. If you anticipate residue, choose a product specifically marketed as residue-free.
- Battery-powered lights die too quickly.: Set a timer to turn them off automatically, use a lower brightness setting, or switch to a plug-in version. For rechargeable lights, check the battery capacity (mAh) and consider getting a model with a longer battery life.
Advanced Tips
- Choose smart lighting that uses standard rechargeable batteries (like AA) so you can swap spares without proprietary chargers or docks.
- Look for lighting with a color-rendering index (CRI) of 90 or higher to ensure your art and decor look vibrant, which is especially important if you photograph your space for listing photos.
- Consider modular strip lights that come in segments with magnetic connectors, allowing you to rearrange them into different shapes for each new room without cutting wires.
Final Checklist
- I verified the light runs on plug-in, battery, or rechargeable power and that I have a suitable power source without hardwiring.
- I tested the adhesive on a small hidden area and confirmed it removes cleanly following the manufacturer's instructions.
- I measured the light's dimensions and weight to ensure it fits my current room and will likely fit future spaces.
- I read my lease's rules about temporary fixtures and confirmed the mounting method won't violate my rental agreement.
FAQ
Can I use adhesive strip lights on wallpaper?
It's risky because removing the adhesive can tear or discolor wallpaper. Instead, choose clip-on lights that attach to shelves, or set a freestanding lamp. If you must use adhesive, place it on trim or an area that's not easily visible, and test first. Even then, be prepared for potential damage.
How do I remove adhesive strips without damaging the paint underneath?
Wait at least 24 hours after installation, then use a hairdryer on low heat to warm the strip for about 30 seconds. Gently pull the strip downward and outward at a 45-degree angle, slowly. If you feel resistance, stop and warm it more. Do not yank. Any residue can be lifted with a bit of oil or a citrus-based cleaner.
What's the best way to store lighting when moving?
Keep original packaging, including foam inserts and boxes. For strips, coil them loosely and secure with a twist tie—never bend them tightly. For lamps, remove shades and bulbs, wrap them in bubble wrap, and label each piece. Store all screws in small bags and tape instructions to the base. Finally, place everything in a clearly labeled box.