How To Arrange Furniture In A Studio Apartment For Separate Zones
A practical step-by-step guide to How to arrange furniture in a studio apartment for separate zones, including preparation, instructions, common issues, tips, and next steps.
How To Arrange Furniture In A Studio Apartment For Separate Zones
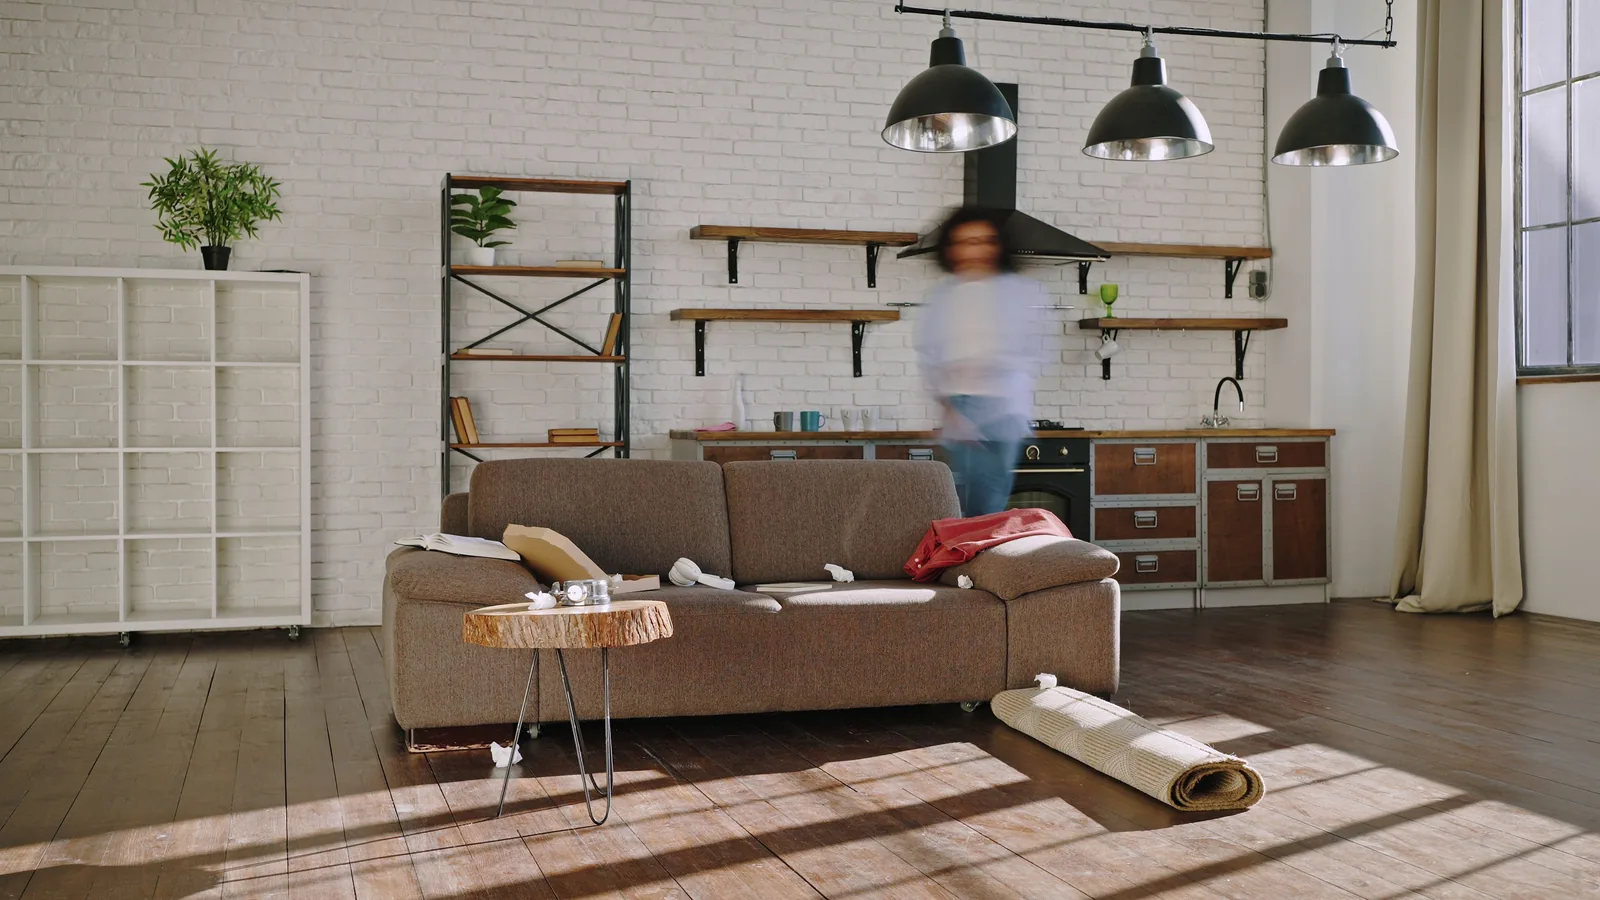
Arranging a studio apartment into distinct zones lets you live, work, and rest in one room without feeling crowded. This guide gives a clear, step-by-step method to plan, place, and adjust furniture so each area has a purpose and the whole space stays open and calm.
Fast Answer
- Start by drawing a simple floor plan with doors, windows, and outlets, then label three to four zones based on your daily routines.
- Use low or open furniture and rugs to define zones without blocking sightlines or light.
Before You Start
- Measure the full room, including door swings, window sills, and heater clearances, then note where outlets and vents sit on a simple sketch.
- List your must-have activities, such as sleeping, cooking, working, and hosting, and rank them so you know which zones get the best light and space.
- Gather painter's tape and a tape measure to mark planned furniture footprints on the floor and test walking paths before you move anything heavy.
- Sort your belongings into keep, store, and let-go piles so you only place furniture that supports the zones you actually use each day.
Step-by-Step Instructions
Map your zones and daily flow
Start by drawing the room on paper or in a simple layout tool, marking doors, windows, closets, and outlets. Write down the main activities you do at home, such as sleeping, cooking, eating, working, exercising, and hosting. Give each activity a zone and decide which zone needs the most light, the least noise, or the quickest exit. Order your zones from most private to most social: usually sleep first, then work or dining, then entry and kitchen. This order keeps quiet activities away from the door and loud ones near it. A practical check is to walk the path you would take from bed to bathroom or from kitchen to desk. If you cross three zones to get a glass of water, move the kitchen or dining zone closer. That check matters because daily routes shape how roomy the studio feels.
Choose rugs and low furniture as dividers
Rugs and low furniture create zone borders without building walls that block light and air. Place a rug under the bed, a different one under the seating area, and a small mat at the entry. Keep the rugs close but not touching so the gap reads as a natural path. Use low bookcases, benches, or open shelving as dividers, and keep them below eye level when you sit, so you can still see across the room. Angle a sofa or chair slightly to face the center of its zone rather than the wall. A practical check is to stand at the main doorway and look in: you should see floor or rug between zones, not a solid wall of furniture. That check matters because visible floor keeps the room from feeling packed, even when it holds many functions.
Place the bed for privacy and calm
Pick a bed spot that is as far from the entry and kitchen as possible, preferably against a wall that is not the busiest wall. If the room is long, place the head of the bed against a short wall and use a screen or low shelf at the foot to soften the view from the door. Leave space on both sides if you can, or at least one side, so the bed does not feel like a shelf in a hallway. Keep the bed away from direct heat, drafts, and bright evening light. A practical check is to lie on the bed and look around: you should not stare straight at the stove, the front door, or a bright screen. That check matters because a restful view helps your body link this corner to sleep, even in a room that also hosts work and meals.
Set up the work or dining zone
Place a desk or dining table where it gets good light but not glare, ideally near a window with the screen or seat facing away from the bed. Keep the work zone close to an outlet and a wall so cables can run neatly, and use a small shelf or drawer unit to hold supplies. If you eat and work at the same table, keep a tray or basket to clear items between uses, so one zone can serve two roles without clutter. Leave at least a chair-width of open floor around the table or desk. A practical check is to sit in the chair and reach for the outlet, the light switch, and your main tool. If you must stand or stretch to reach them, shift the furniture. That check matters because a zone that frustrates your body will slowly push you to work from the bed, blending the areas you wanted to keep apart.
Create a clear entry and kitchen path
Treat the entry as its own small zone with a mat, a hook or two, a shoe tray, and a shallow shelf. Keep the path from the door to the kitchen open and straight, and avoid placing tall furniture where it blocks the first view into the room. In the kitchen area, group cooking tools near the counter and keep a clear triangle between the main work points if your layout allows. If the kitchen is a small wall, add a rolling cart or a narrow table for extra prep space, and store items you use daily at arm's reach. A practical check is to carry a full bag or laundry basket from the door to the kitchen and then to the sofa without turning sideways. That check matters because entry routes are used many times a day, and a blocked path makes even a well-planned studio feel cramped and messy.
Refine, test, and adjust over a week
Live in the layout for several days before making final changes. Notice where you pause, where you trip, and which corner collects clutter. Move one piece at a time, such as sliding a chair a few inches or swapping a side table for a smaller one. Watch the light through the day: if a zone feels dark in the morning, shift furniture that blocks the window or add a lamp with a soft shade. At night, check that you can move from the sofa to the bed without turning on a harsh overhead light. A practical check is to spend one full day following your normal routine and write down three moments when the space felt awkward. Fix those three, then stop. That check matters because small, real adjustments beat a perfect plan drawn on paper, and stopping prevents endless rearranging.
Quick Reference
| Situation | Action | Why it helps |
|---|---|---|
| You need to separate sleeping from living without building a wall. | Place a low bookcase or fabric screen at the foot or side of the bed, leaving a clear walking gap on one side, and use a rug under the bed to mark the sleep zone. | A low or see-through divider blocks the view of the bed from the sofa while keeping light and air moving, so the room stays bright and open instead of feeling chopped in two. |
| Your work desk and dining table are the same surface and clutter builds up. | Set a small tray or basket beside the table for work items, clear it at the end of each work session, and store the tray on a shelf so the table returns to a dining surface. | A reset ritual keeps one surface from carrying two roles at once, which helps your mind switch from work to rest and reduces the urge to leave papers spread across the room. |
| The entry feels like a narrow tunnel and bags pile up by the door. | Add a shallow shoe tray, two wall hooks, and a small shelf, then move any tall furniture at least a step back from the door swing so the path stays open. | A clear entry route controls the first and last thing you see each day, and a tidy landing spot stops bags and shoes from spilling into the kitchen or living zone. |
Common Issues
- Every zone blends together because there are no visible borders.: Add one clear border per zone, such as a rug edge, a low shelf, or a change in lighting, and keep at least a narrow strip of open floor between zones. Stand at the door and confirm you can name each zone from where you are.
- The room feels dark after arranging furniture.: Move tall pieces away from windows and use low, open dividers so light can pass. Add a floor lamp or two small lamps at different heights, and check that no lamp shade points straight into your eyes from the sofa or bed.
- Walking paths are blocked or you have to turn sideways to pass.: Measure the narrowest point on each main route and widen it by sliding furniture or removing one piece. Keep the path from the door to the kitchen and from the bed to the bathroom clear, even if that means giving up a side table.
Advanced Tips
- Use vertical space with tall, narrow shelves instead of wide low units so you gain storage without eating floor area. Mount or place them against a wall, and check that they are stable and do not block a vent or switch.
- Layer light in three levels: overhead for cleaning, a task lamp at the desk, and a soft lamp near the bed or sofa. Put each on its own switch or smart plug so you can change the mood of a zone without lighting the whole room.
- Choose a consistent color or material for zone dividers, such as all wood or all light fabric, so the room feels intentional rather than like a storage unit. Repeat one accent color in each zone to tie the space together.
Final Checklist
- Walk from the front door to the kitchen, to the sofa, to the bed, and to the bathroom without turning sideways or stepping over anything.
- Confirm that every zone has at least one clear border, such as a rug, a low shelf, a screen, or a change in lighting.
- Check that no furniture blocks an exit, a window that opens, a heater, a vent, or a light switch you use daily.
- Spend one full day in the layout, note three awkward moments, and fix only those before deciding the plan is done.
FAQ
Do I need to buy new furniture to create zones?
No. Start with what you own and test borders using rugs, a low bookcase, a chair back, or a lamp. Move pieces a few inches at a time and live with each change for a day. Only buy something if a specific problem remains after you have tried rearranging, and measure the spot first so the new piece truly fits your paths and light.
How do I keep a studio from feeling crowded?
Protect open floor and sightlines. Keep at least one clear path through the room, choose low or open dividers instead of tall solid ones, and leave some wall space empty. Use light colors on large surfaces, add lamps at different heights, and store items you use less often in closed containers so surfaces stay clear. Crowding usually comes from blocked paths and too many small items, not from the number of zones.
What if my studio has only one window or one outlet?
Place the zone that needs the most daytime light, such as a desk or dining table, near the window, and use screens or curtains to shift the feel of other zones at night. For one outlet, use a short, grounded power strip with a built-in breaker and route cables along a wall so no one trips. Check your lease and the device instructions for any limits before adding high-draw items.